Pack for the RV You Actually Have
A first RV trip starts becoming manageable when the shopping list turns into a small set of jobs: get the vehicle there safely, connect the services it supports, sleep comfortably, prepare food, and leave the campsite ready for the next visitor. Those jobs are shared by many travelers, but the equipment that accomplishes them varies with the RV. A rented motorhome, a lightweight trailer, and a large fifth wheel do not necessarily use the same electrical connection, leveling arrangement, or wastewater fittings. Begin with the vehicle’s manual and the campground reservation, then build your checklist around confirmed requirements. That approach keeps a reassuring pile of accessories from hiding a missing essential. For the first outing, choose a reachable campground and leave enough daylight to settle in without rushing the unfamiliar parts.
A: No. Match connections, operating procedures, and supplied equipment to the actual vehicle.
A: No. The available service and the RV's system still limit usable power.
A: No. A shared disposal facility may be separate from the individual site.
A: Use physically separate, protected storage to prevent contamination.
A: Measure beds, appliances, cabinets, and openings first so the items fit.
A: Keep operating instructions, key dimensions, reservation details, and assistance contacts available.
A: Assign responsibilities and have the driver make the final vehicle inspection.
A: Follow the RV manufacturer's procedure and ask the provider to demonstrate it.
A: Stop safely and use qualified assistance rather than experimenting beside the road.
A: Choose a reachable campground with access, services, and support that fit your experience.
Make a Vehicle File Before Making a Shopping Cart
Gather the operating manual, rental instructions if applicable, insurance information, roadside assistance details, and emergency contacts in one accessible place. Download the documents you may need where reception is unreliable. Record the RV’s dimensions as configured for travel, including equipment that affects clearance. Know which person will navigate and where that information will be kept. A phone folder is useful, but the critical measurements should also be available without searching through several accounts.
Walk around the actual vehicle and identify its service connections. Locate the electrical inlet, potable-water connection, freshwater fill, wastewater outlet, battery access, and fuel or propane controls where fitted. Ask the dealer or rental provider to demonstrate unfamiliar systems, then repeat the explanation back in your own words. Photograph the correct connection points for your private reference. A general internet checklist cannot establish which inlet or valve belongs to your model.
For a towable RV, confirm the complete towing arrangement with qualified help before departure. Vehicle ratings, trailer loading, hitch equipment, brake controls, tires, and the particular installation all matter together. Do not assume a capable-looking truck makes an unfamiliar combination suitable. Arrange instruction and a practice drive in a safe setting. The essential purchase may be a professional inspection or lesson rather than another storage accessory. Make the loading plan part of that conversation, including passengers, water, luggage, and any equipment carried on exterior mounts. Leave the consultation with a written understanding of the limits that apply to your combination.
Check the Reservation Against the Rig
Read the individual campsite description instead of relying on the campground’s name or a photograph. Confirm the permitted equipment, usable driveway length, access restrictions, arrival process, and the hookups actually offered at your site. A campground can have a dump station without providing sewer connections at every space. Save the reservation and relevant contact details before traveling. If a specification is unclear, ask the operator while there is still time to change the booking.
Plan an arrival route that fits the RV and your driving experience. Check official road information for restrictions and current closures, and use navigation settings appropriate to the vehicle. Build in a fuel stop that does not require a stressful maneuver with a trailer. Daylight arrival also makes branches, site boundaries, and the location of utility connections easier to assess. Keep an alternate overnight option available if travel takes longer than expected.
Bring the Right Electrical Connection Equipment
Identify the RV’s shore-power service and compare it with the reserved pedestal connection. Pack the correct cord and only the connection accessories approved for the vehicle and intended supply. An adapter can change the physical connection without making unlimited power available. Ask the RV provider to explain the limitations of the actual setup, including which appliances can operate together. Keep cords and electrical components in serviceable condition and follow their instructions around weather and moisture.
Consider suitable electrical protection based on the RV manufacturer’s guidance. Different products offer different monitoring and disconnect functions, so read their specifications instead of treating every device labeled protection as equivalent. Establish how the system indicates a fault before relying on it at camp. Keep the connection arrangement accessible enough to inspect. Avoid burying critical components beneath luggage simply because the storage compartment has unused space.
Learn what still operates when shore power is disconnected. The battery system, converter, inverter if equipped, and individual appliances have specific roles that vary between RVs. A familiar wall socket does not prove that an appliance will work in every operating mode. Test essential equipment before leaving home and understand the intended shutdown procedure. For model-specific instructions, use the manufacturer’s documentation, such as Winnebago’s manuals and diagrams library, rather than substituting instructions from a different RV.
Keep Drinking Water and Wastewater Equipment Separate
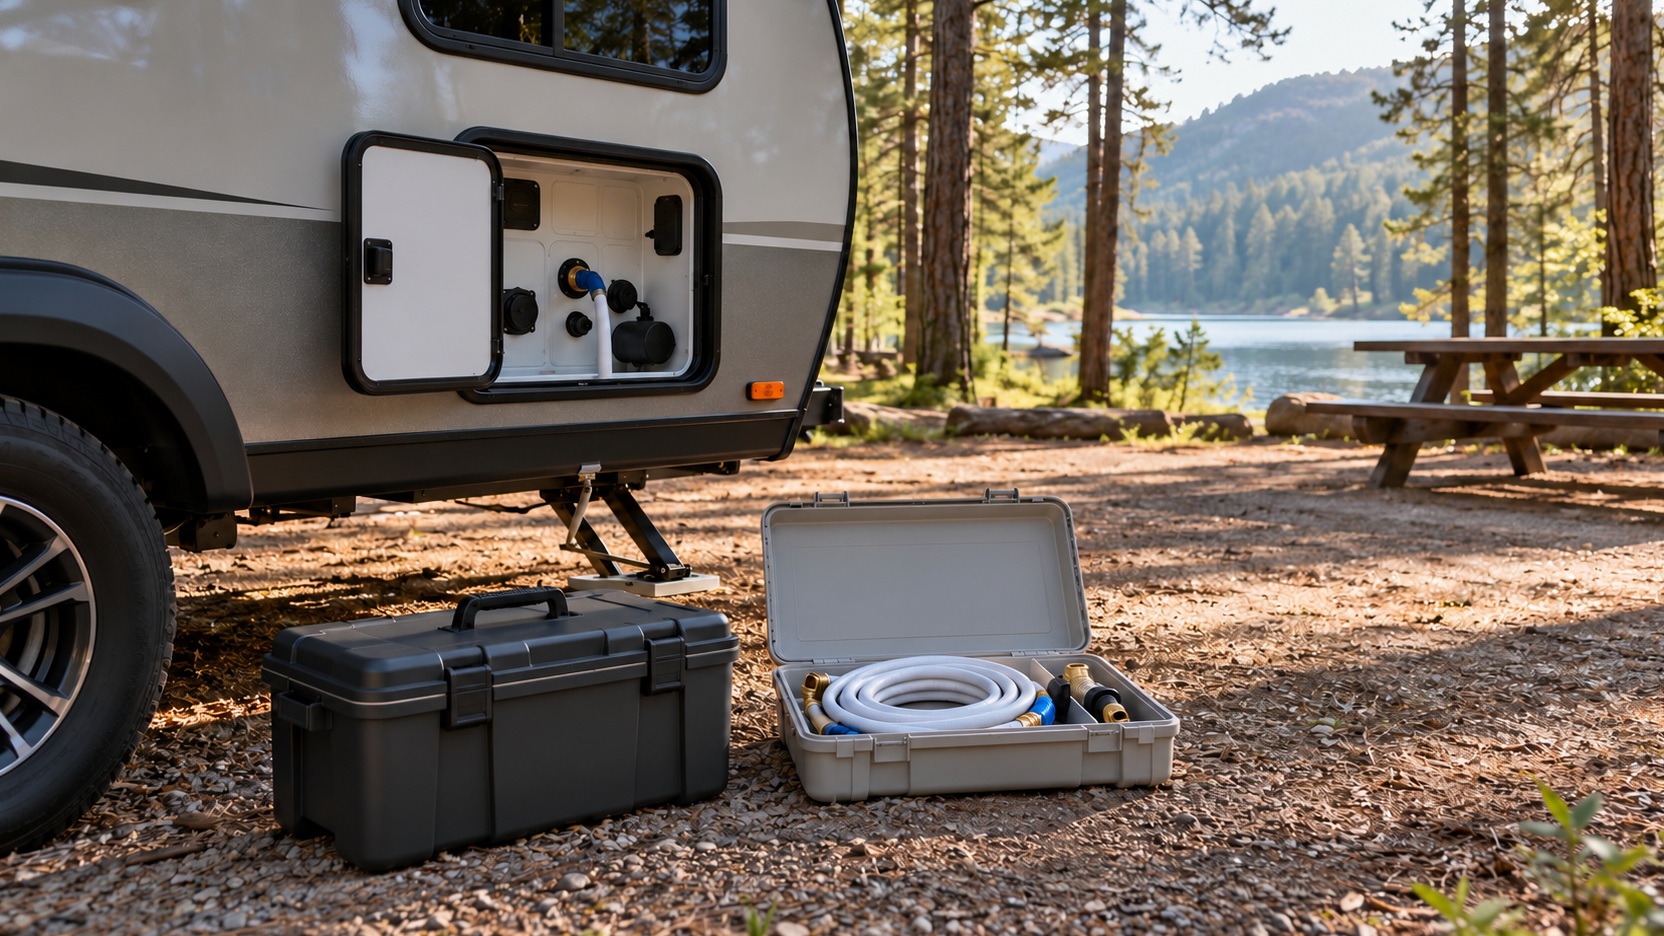
Pack a hose intended for drinking-water use and the fittings required by your RV’s approved connection method. Bring any regulator or filtration equipment specified for that system, and learn which connection fills the tank versus supplies the plumbing directly. Store clean-water equipment protected from contamination and physically apart from sewer supplies. Use clearly distinguishable containers so someone helping at camp does not mix them up. Before the trip, follow the vehicle manufacturer’s process for preparing the freshwater system after storage or winterization; a new-looking hose does not establish that the whole system is ready.
Build a Small, Complete Wastewater Kit
Confirm the correct sewer hose, connection fittings, protective caps, and any supports required by the destination or equipment instructions. Include disposable gloves or appropriate reusable protection, a way to wash hands, and a sealed storage arrangement for the wastewater kit. Learn the RV’s tank and valve arrangement from its own manual. If the rental provider supplies the equipment, inspect what is included before deciding that no additional preparation is necessary.
Find the approved disposal facility before the tanks need emptying. Check its access arrangements, operating hours, and any charges, especially when the campsite lacks sewer service. Keep the disposal instructions with the equipment so the task does not depend on one person’s memory. Treat grey water as wastewater too and follow the site’s disposal rules. An improvised release beside the campsite is not an alternative to planning a legal disposal stop.
Stabilize the Campsite Without Guessing
Find out which leveling and stabilization equipment the RV requires and what is already installed. Suitable wheel chocks, leveling aids, and support accessories must match the vehicle and the manufacturer’s procedure. Stabilizing equipment and lifting equipment can serve different purposes. Have the provider demonstrate the distinction on your RV. Practicing the correct sequence beforehand is more valuable than trying an unfamiliar arrangement after a long drive.
At the site, pause before deploying anything. Look at the parking surface, utility locations, overhead space, doors, slides if fitted, and the route people will use around the vehicle. Use a spotter when appropriate and agree on simple communication before moving. Stop if you lose sight of the spotter or become uncertain about a clearance. Repositioning calmly is easier before cords, hoses, furniture, and leveling equipment are laid out.
Give departure just as much attention as arrival. Keep a vehicle-specific walkaround list covering disconnected services, closed compartments, secured interior items, retracted equipment, and the tow arrangement where applicable. Assign responsibilities but have the driver make the final inspection. A checklist should be visible and easy to follow when everyone is thinking about getting home. Avoid adding so many decorative camp accessories that packing them obscures the essential checks.
Choose Household Gear Around the Available Space
Start the living kit with bedding that fits the beds, towels, suitable clothing, personal medicines, and toiletries stored so they will not spill during travel. Check whether supplied mattresses need an additional comfort layer rather than buying bedding for an imagined layout. Select a compact set of cookware and utensils that works with the installed appliances. Measure storage openings as well as shelf space; an item that fits a cabinet may still be awkward to get through its door. Pack groceries for a realistic first menu and allow for the refrigerator’s operating instructions and available capacity. Check travel restraints for cupboard contents and keep heavy household items in appropriate secured storage. A drawer that closes at home still needs to remain closed on a moving road. Think about the order in which the living space will be used: rainwear, a towel, and a light should not require unloading the evening meal.
Give Safety Supplies a Known Home
Locate and check the RV’s installed alarms and fire extinguisher according to the manufacturer’s instructions. Know the exit routes and ensure luggage does not block them. Bring a suitable first-aid kit and make personal medication easy to reach during travel. These are routine readiness tasks, not equipment to remember only after a problem starts. Include everyone traveling in a short orientation so basic actions do not depend on a single adult being present.
Bring a reliable light for a dark arrival or power interruption, plus the charging or spare-battery arrangement it needs. Keep a weather-appropriate layer near the door and suitable footwear accessible for walking outside. Save local emergency and campground contacts where they can be found quickly. If carrying a generator or using fuel-burning equipment, follow its manufacturer instructions and the site’s rules, with particular attention to exhaust placement and operation. Never treat an open RV window as adequate protection from an unsafe exhaust arrangement.
Choose tools for tasks you understand and are permitted to perform. A tire-pressure gauge, compatible basic tools, and a clear roadside assistance plan can be more useful than a large unfamiliar repair collection. Follow the tire and vehicle guidance for checking pressure and loading. Do not attempt a roadside repair merely because a tool is on board. Decide before departure which problems mean stopping and calling qualified assistance.
Run a Short Rehearsal With the Packed RV
Load the essential equipment, then test an ordinary evening and morning close to home or at an easy nearby campground. Make a meal, set up the bed, find the light switches, and practice retrieving the connection equipment. Ask each traveler to locate their own belongings without unpacking the entire living area. Look for awkward storage and missing small pieces. The goal is to discover friction while changing the plan is still straightforward.
Write a short list of what was missing and what never earned its space. Separate an equipment failure from a task that simply needs practice. A longer hose, for example, may be justified by a measured connection problem; a large multipack of unrelated accessories may not be. Preserve the working checklist for the next departure. Your second trip can then begin with a known arrangement instead of another round of speculative shopping.
Keep the First Trip Deliberately Manageable
A useful RV essentials checklist ends with a decision about scope. Favor a destination where the approach, parking, services, and help available suit your current experience. Leave complicated upgrades and ambitious travel days for later trips. Pack the confirmed connection equipment, clean-water and wastewater kits, vehicle-specific stabilization supplies, household basics, and accessible safety items. Then leave enough time to use them calmly. The first success is an RV and its occupants arriving, settling in, and returning comfortably with a clearer understanding of what their own camping routine requires.