Give the Campsite a Comfortable Shared Roof
The most useful camping canopy is often appreciated during the ordinary hours between adventures: while sandwiches are assembled, wet chairs dry, or the group gathers somewhere out of the afternoon sun. That shared roof can make a campsite easier to live in, provided its size, setup effort, and weather limitations match the trip. A canopy also adds a frame or pole system, anchoring equipment, a substantial packed package, and another task before departure. Choosing one therefore means deciding what activity needs cover and how you will manage the structure throughout the stay. Shade and permitted light-weather protection can be worthwhile benefits, but they do not turn a temporary canopy into a storm shelter. Start with the space your group needs, then work through the practical details that let you use that space responsibly and comfortably.
A: Not necessarily. Leg angles, frame braces, roof height, and furniture circulation affect usable room.
A: No. Follow the maker's recommended helper count and practice with the actual model.
A: No. Temporary canopies have specific weather limitations and do not replace an appropriate substantial shelter.
A: Walls can block low sun but also alter airflow, visibility, and operating restrictions.
A: Use a stove only where both appliance and shelter instructions permit the arrangement and required clearances.
A: A long rigid frame may not fit through the vehicle opening or beside the rest of the camping load.
A: Their usefulness depends on the surface; rough ground can still require lifting.
A: Use only the anchoring arrangement specified for the shelter and permitted by the campsite.
A: Change to a permitted suitable arrangement or keep the canopy packed.
A: Dry fabric, concealed folds, and the bag completely and follow the model's care guidance.
Begin With the Activity That Needs Cover
Describe the canopy’s main job before comparing roof dimensions. A dining area needs room for seated campers and chairs that slide backward. A reading area may need only a pair of chairs and a small surface, while a group gathering place needs clear movement between several seats. Those arrangements occupy different amounts of useful ground. Measure a mock layout at home rather than assuming a familiar canopy size automatically fits the whole family.
Think about how that activity changes through the day. Breakfast may happen in cool shade, lunch in strong overhead sun, and dinner with light coming under one edge. A canopy’s roof dimensions do not guarantee the same shaded footprint at every hour. Place the planned furniture where shade will be useful without requiring frequent moves through lines and legs. If the campsite already has a sheltered picnic table, the extra roof may offer less benefit than expected. Consider the number of hours you expect to spend at camp as well. A family using the pitch as a base for full-day outings may need much less shaded living space than a group enjoying slow afternoons beside the tent. When several households share the roof, agree on its purpose before buying a larger structure. A dining shelter becomes less helpful if luggage gradually fills every place where someone hoped to sit.
Choose a Structure You Can Assemble With Your Group
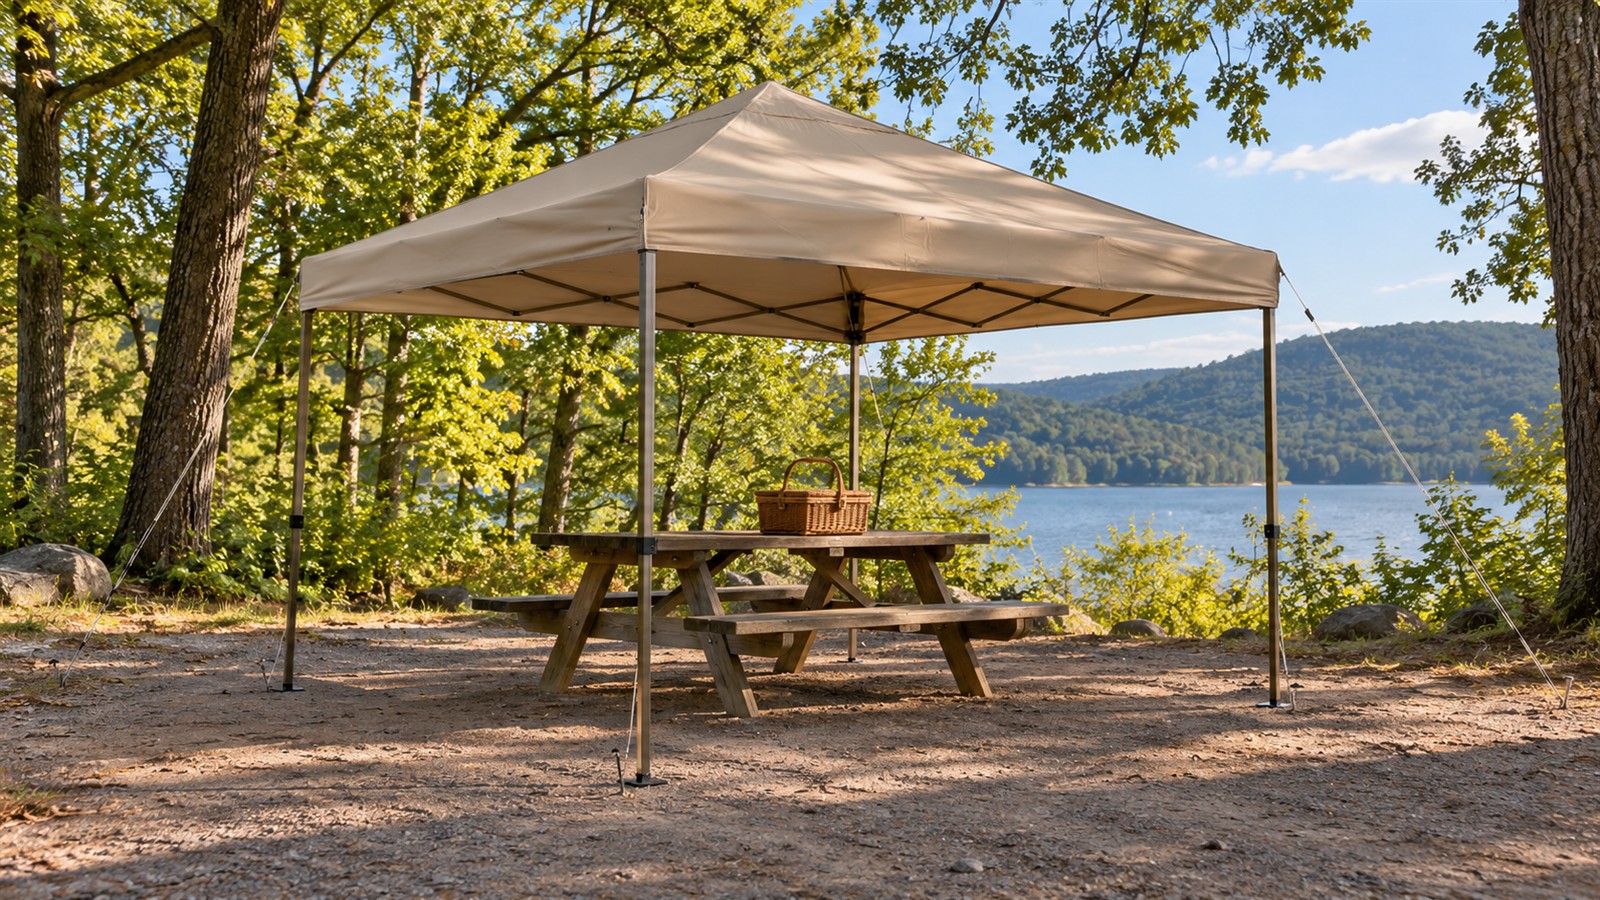
Instant-frame canopies combine a folding framework with a roof, making them convenient when the complete package fits the vehicle and the people present can manage deployment. Read how many adults the manufacturer recommends for setup. A mechanism described as quick can still be awkward for one person on uneven ground or in gusts. Test the locking points and release controls while conditions are calm. Knowing where hands belong also reduces frantic handling when packing time arrives. Test the roof at the lower setup position and at its normal working height so the sequence feels familiar. Notice whether a shorter companion can reach the controls without overextending. If the design requires assistance, include that person in the rehearsal instead of assuming campsite enthusiasm will compensate for a difficult lift. Good fit includes the people operating the structure as well as those sitting beneath it.
Pole-supported camping shelters often divide into smaller components and may pack in a different shape. Their practical tradeoff is the assembly sequence, including poles, roof attachments, and lines. Count the separate pieces and understand what keeps the structure stable during each stage. The best arrangement is the one your group can pitch correctly without relying on an absent helper. Setup demonstrations are useful, but a rehearsal with the actual shelter is more informative than a time claim.
For either style, assess the complete breakdown process before purchase if possible. A shelter may open smoothly but require awkward reaching or substantial force to collapse. Check whether the canopy top remains attached during storage or must be removed. Confirm how the packed bag closes around all required parts, including anchors. A product that is easy to erect but frustrating to stow can become the equipment everyone avoids at the end of a trip.
Read the Weather Limits Before the Feature List
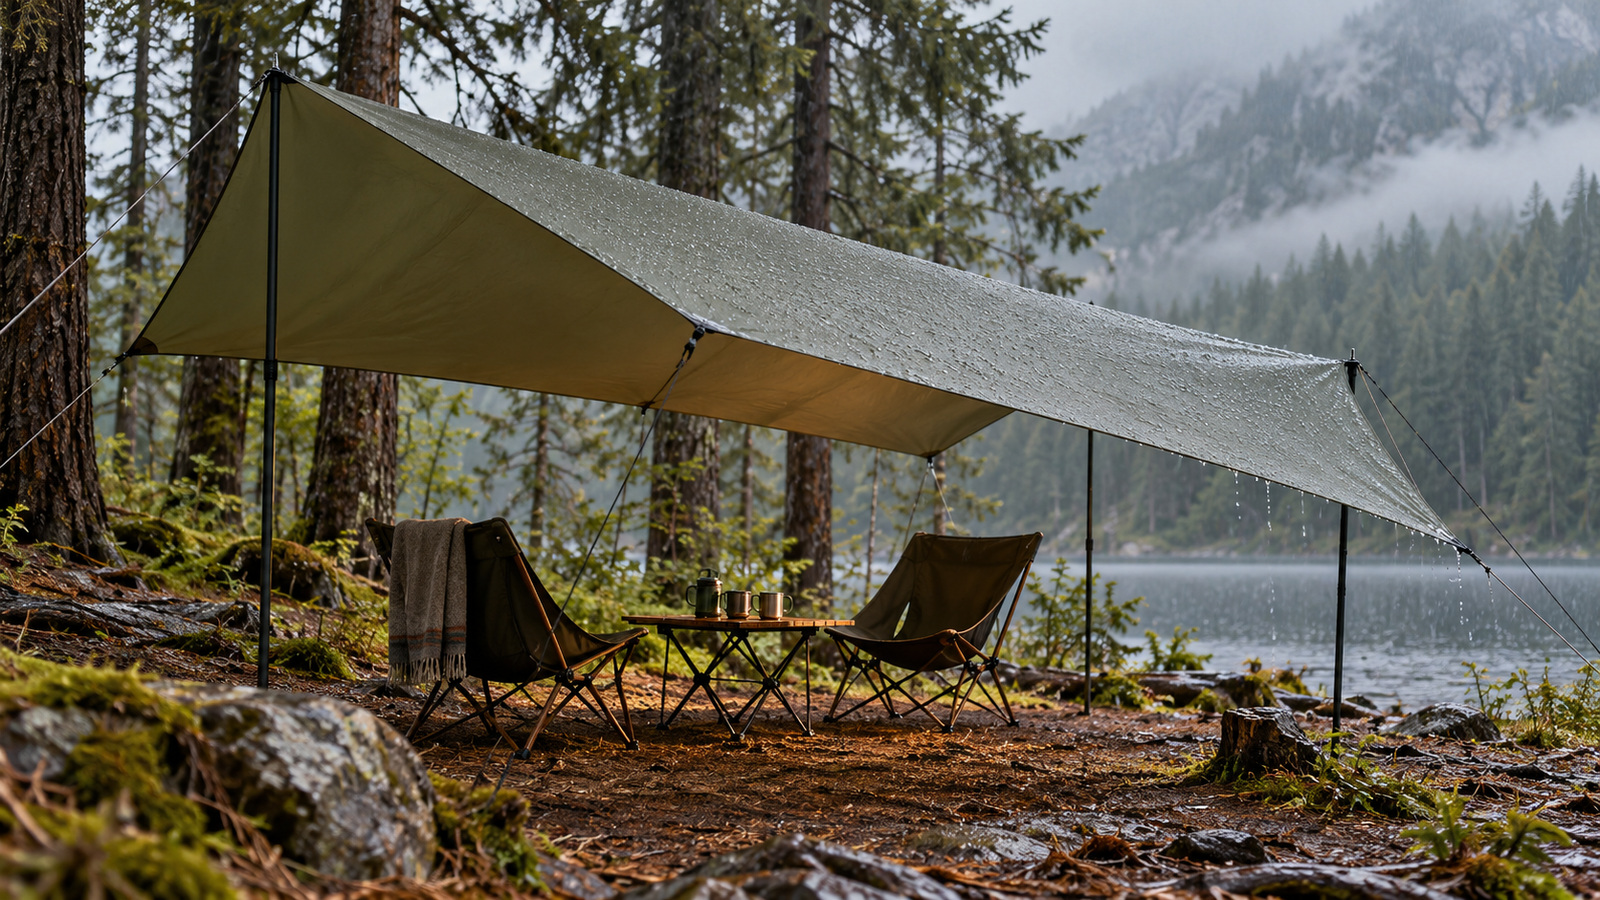
Temporary shade structures have specific operating limits, and rain-cover claims require careful reading. Water resistance, roof pitch, and seam construction differ across products. A shelter intended primarily for sun protection should not be treated as suitable for sustained rain merely because its fabric feels coated. The E-Z UP shelter instructions warn that wind and rain can damage the structure and cause injury. Use the exact manual for the model you are considering.
Storm planning belongs outside the canopy purchase decision. Follow destination weather alerts and use an appropriate substantial shelter or vehicle when conditions require it. Extra weights, added walls, and a heavier frame do not establish permission to exceed the manufacturer’s instructions. Decide in advance when the canopy will be taken down and allow enough time to do so calmly. A useful campsite roof should never become a reason to delay a safer weather response.
Match Anchoring to Both the Manual and the Ground
Anchoring is part of the shelter system, not an optional finishing touch. Read which stakes, lines, weights, or combinations the maker requires and whether the campsite permits their use. Gravel pads, hard surfaces, loose soil, and buried infrastructure can create different constraints, so verify the destination before assuming the included stake bag solves every situation. Use approved equipment and the specified attachment points rather than improvising from roof bars or convenient furniture. Keep every leg and anchor within the allocated campsite. If you cannot establish the required anchoring arrangement, choose another location or leave the canopy packed.
Judge Usable Space Beneath the Roof
The outer roof measurement is only one dimension of comfort. Sloping legs can reduce the area available between feet, low roof edges can obstruct taller campers, and frame braces may make certain seating positions awkward. Check the actual clearances at the height you intend to use. Consider whether someone carrying plates can move between the picnic table and a leg without squeezing sideways. A canopy is worth packing when the protected space remains pleasant after furniture is added.
Rain management also affects usable space when the model permits wet-weather use. Keep furniture and belongings away from roof edges that shed water, and look for potential runoff paths around the entire pitch. Avoid placing the roof where drainage flows toward the tent entrance. Do not modify the campsite by trenching around the legs or diverting runoff into neighboring sites. Suitable placement should respect both the shelter instructions and the existing ground.
Allow a clear route around guy lines. Highly visible lines and careful furniture placement can make circulation easier, but they do not remove the need to watch where people walk. Consider the nighttime route to the bathroom and the movement of children around shared seating. Discuss the layout with companions before setting up a row of chairs across the only convenient entrance. The protected area works better when its boundaries are understandable from the start. Walk through the arrangement while carrying a cup or folded chair, because ordinary movements reveal awkward corners that a static layout can miss. Leave a clear approach to each seat rather than requiring campers to step across anchoring lines. Check the same routes after dusk with appropriate lighting. Small adjustments made before the group settles in can prevent repeated interruptions during meals and conversation.
Evaluate Sidewalls as a Separate Decision
A sidewall can block low sun or provide privacy when it is an approved accessory for the exact canopy. It also changes how the structure interacts with moving air, limits visibility, and may reduce the open feeling that made the roof attractive. Read any different use restrictions associated with walls. Do not assume a compatible zipper means every possible wall arrangement is suitable in every condition. Choose the smallest configuration that solves the specific comfort problem.
Keep cooking equipment subject to its own instructions and clearances. A large covered footprint does not make operating a stove beneath it acceptable. Read both shelter and appliance guidance, including restrictions on combustible materials, overhead cover, ventilation, and heat. Organize dining and food preparation so a desire for shade does not force an unsupported cooking arrangement. If rain interrupts the intended meal setup, use the backup food plan rather than making unsafe changes around a flame.
Measure the Whole Package Against the Trip
Before buying, compare the packed length with the actual vehicle opening and the space remaining after the tent, bedding, and cooler are loaded. Instant frames often create a long rigid bundle that cannot bend around other luggage. Wheels on a storage bag may help over smooth ground but offer less convenience on gravel, sand, or roots. Carry the package by its intended handles to assess whether the weight is manageable. Include the separate anchoring equipment in that assessment.
A larger roof can be tempting for occasional visitors, yet it adds transport and setup work on every trip. Consider how many campers will normally use the sheltered area rather than sizing for the largest gathering you can imagine. A smaller canopy may fit more permitted sites and be easier to position without crowding neighboring campers. Conversely, a roof too small for your regular group can become a storage awning instead of a shared living area. Value depends on the space you repeatedly use.
Compare complete costs rather than the shelter price alone. Required weights, compatible walls, replacement feet, or a more useful bag may alter the total. Look at parts support and the availability of instructions for the exact model. Similar roofs can conceal different frame components, so identify the product clearly when checking replacements. A repairable structure that fits your routine may serve better than an elaborate bargain with uncertain support. Inspect the included contents carefully when the canopy arrives, leaving enough time to resolve missing pieces before departure. Store the manual with the trip information and keep the model identifier for future parts inquiries. If you are borrowing a shelter, ask for its complete instructions and anchoring equipment rather than accepting only the bagged frame. Familiarity with a different canopy does not establish the operating procedure for this one.
Build Inspection and Drying Into Every Outing
Inspect fabric, fasteners, locks, and frame joints before departure and after any unusual movement or damage. Do not force bent hardware into place merely to finish assembly. Keep fingers away from moving pinch points and follow the prescribed opening sequence. Clean the materials as their care guidance requires, particularly where grit accumulates near sliding components. Regular attention can reveal a small problem while the shelter is still at home and an alternative is easy to arrange.
If the roof is packed damp, open it for complete drying as soon as practical after returning. Check concealed folds and the carrying bag rather than judging only the exposed fabric surface. Store the shelter so hardware is protected and the next setup begins with all parts accounted for. Review whether the canopy genuinely improved the weekend: usable shade, manageable effort, and a campsite layout people liked. A roof worth packing earns its place through repeated comfortable use and a clear understanding of its limits. If it was rarely occupied, ask whether the size, location, or intended purpose was wrong before adding accessories. If it was the favorite place at camp, preserve the successful furniture layout for the next visit.