Make Room to Live Outside the Tent
Rain changes a campsite quickly when the only dry place is the space where everyone sleeps. Chairs become wet, bags migrate onto bedding, and a short shower can turn the evening into a cramped wait behind a zipper. A well-chosen camping tarp creates another useful room: a place to sit, organize gear, and enjoy being outside while staying out of ordinary rain or strong sun. Its success depends on more than the fabric dimensions, however. The pitch changes the covered area, supports determine where it can stand, and guylines need room around the people using it. Start with the activities you want to shelter and the campsites you normally visit. The best tarp is the one you can pitch securely, drain properly, and pack easily within the weather limits of the complete setup.
A: Flat fabric area changes into sloped surfaces when pitched, reducing protected floor space.
A: Leave a margin for splash and rain driven in from the side.
A: No. Check the destination's attachment rules before relying on them.
A: Kelty lists the support poles separately for the referenced model.
A: Maintain suitable tension and slope so water sheds instead of collecting in pockets.
A: No. Check the exact product's stated tested rating.
A: Its poles and guylines may extend beyond available legal space or block access.
A: No. Follow equipment limits and move to an appropriate safer location.
A: Follow all fire and fabric clearances; a tarp roof does not establish a safe fire location.
A: Use the full support kit and actual furniture, then inspect space, drainage, lines, and packing.
Measure the Activity Beneath the Fabric
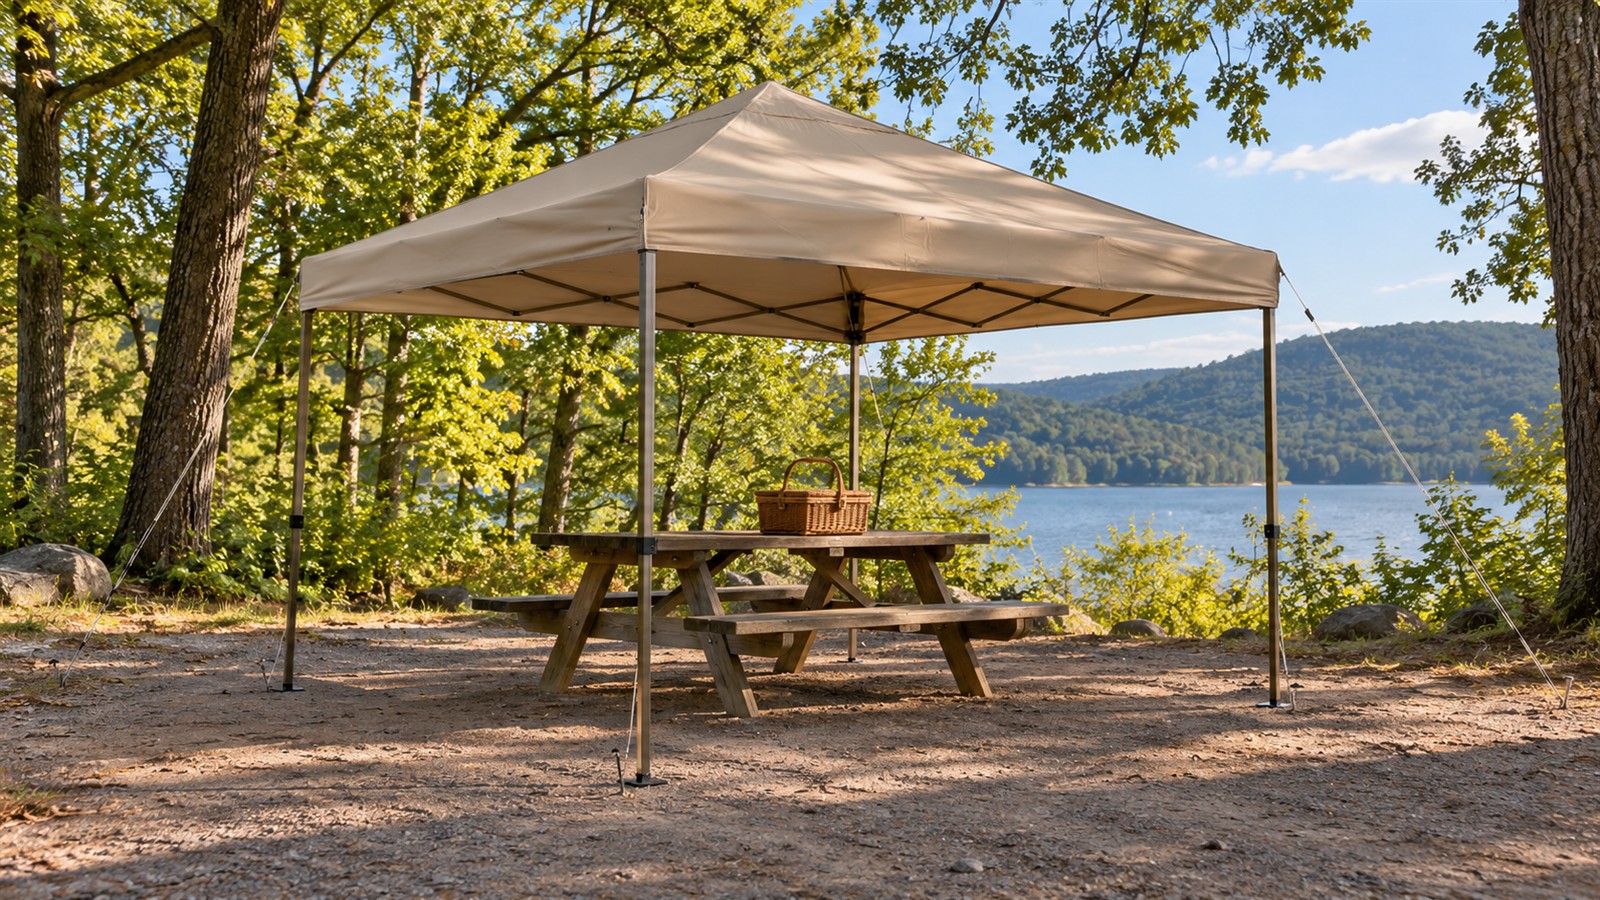
Imagine the occupied space before choosing a size. Two chairs facing a small table need different coverage from a group gathered around a long picnic bench. Include the room people need to stand, move chairs, and reach bags without stepping into rain falling from the edge. A tarp’s flat dimensions do not directly describe that usable living area. Sloping the sides consumes width, while lowering an edge for weather protection reduces standing space beneath it.
Leave a margin between the fabric edge and the items you want dry. Rain rarely falls perfectly vertically, and splash can reach beneath an otherwise tidy pitch. The appropriate margin depends on weather exposure and the shape of the shelter. Avoid planning furniture right up against every edge simply to justify a smaller tarp. A little unused space can make the protected area more comfortable when the wind shifts during an evening shower.
Also measure the complete site footprint. Poles, stakes, and guyline angles need space beyond the covered chairs. A large tarp can become awkward on a small reserved campsite, especially when neighboring plots and pedestrian routes are close. Consider the pitch you can actually fit without crossing boundaries or blocking access. More fabric is useful only when the supporting arrangement has somewhere appropriate to go.
Choose a Shape for the Pitch You Will Repeat
Flat rectangular tarps offer several possible arrangements, but versatility asks the user to understand those arrangements. A simple ridgeline pitch can create predictable sloping sides, while an angled configuration may better suit a particular seating area. Shaped tarps can make a designed pitch easier to tension, although they offer less freedom to rearrange the edges. Study the manufacturer’s pitching examples and identify the one you expect to use most. A shelter that is theoretically adaptable is less helpful if each setup feels like a new puzzle.
Use a Current Reference to Understand Complete Coverage
The Kelty Noah’s Tarp 12 is a useful example of a camping tarp built around reinforced attachment points and taped seams. Kelty describes a flat area of 144 square feet, but that figure should not be read as guaranteed sheltered floor space after pitching. Its support poles are sold separately. Those details illustrate why dimensions, construction, and the included equipment should be evaluated together. This is a manufacturer-based reference rather than a claim of hands-on testing or a universal product ranking.
A larger version may suit a group living area, while a smaller lighter arrangement can be enough for limited seating or a compact gear shelter. Compare the exact model’s packed size and supporting equipment rather than assuming the same family name means identical contents. Look at the manufacturer’s drawings and current specifications before purchasing. If two models meet the same weather and space requirements, the easier one to carry and pitch may offer better value. The category winner depends on the camp you intend to build.
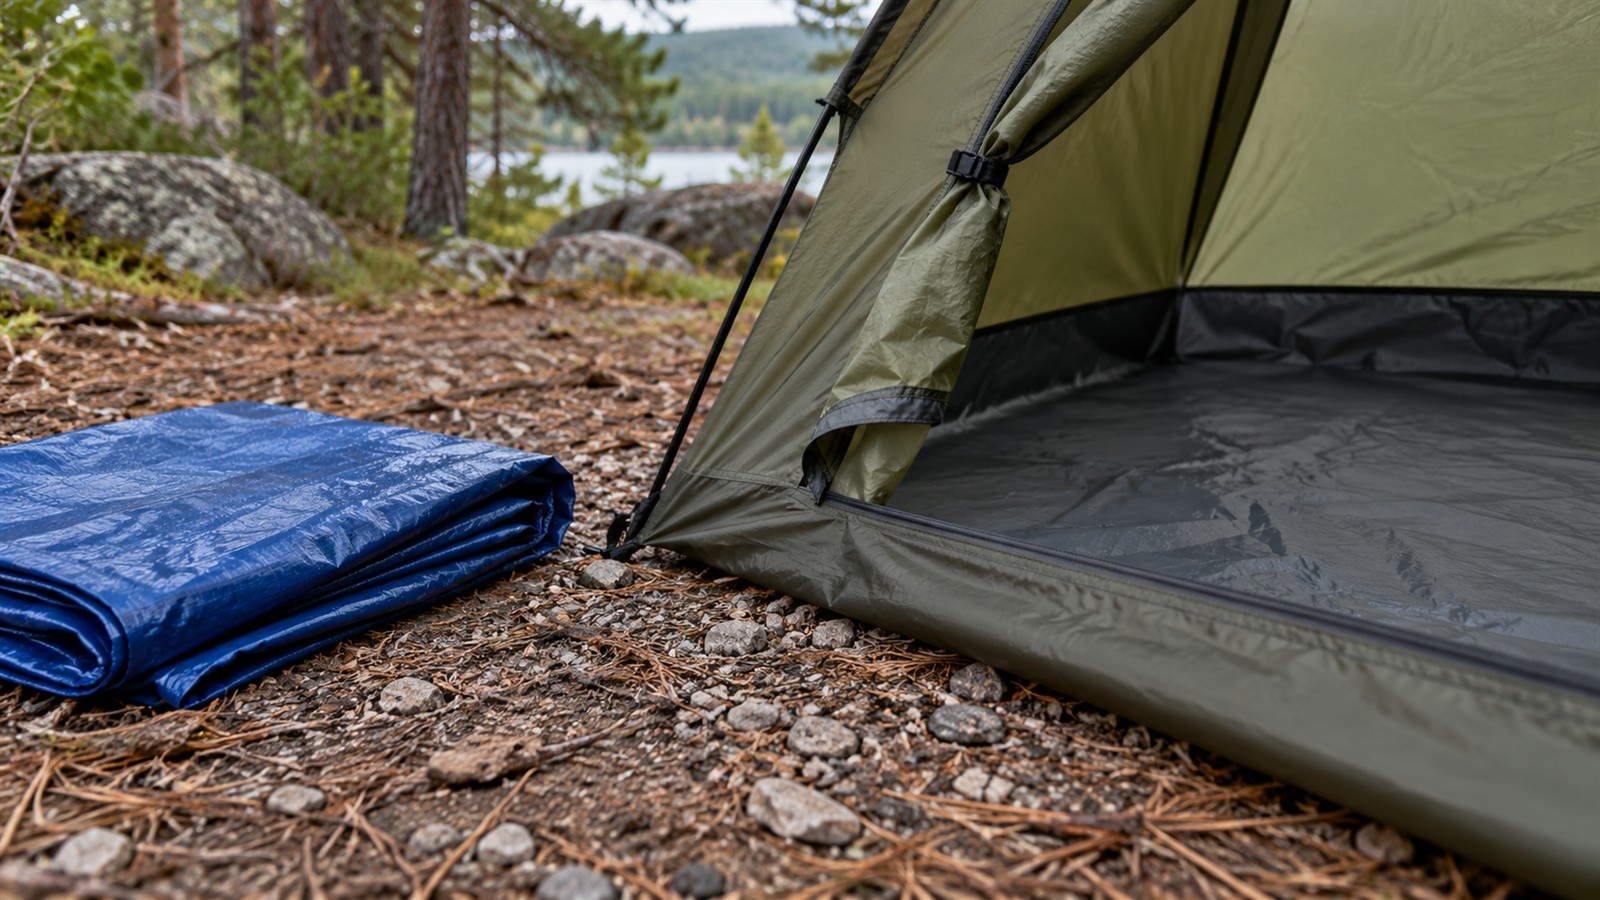
For vehicle camping, it can help to compare a dedicated camping tarp with the experience of using an inexpensive general-purpose sheet. The latter may be adequate for some simple tasks, but handling, reinforced attachments, packed bulk, and noise can differ substantially. Avoid treating low initial cost as the entire comparison. Think about repeated setup in ordinary campground conditions and whether the supplied attachment system makes the intended pitch straightforward. Equally, do not pay for a highly specialized lightweight shelter when the equipment will move only a few steps from the vehicle. Match the expenditure to the work the tarp will actually perform.
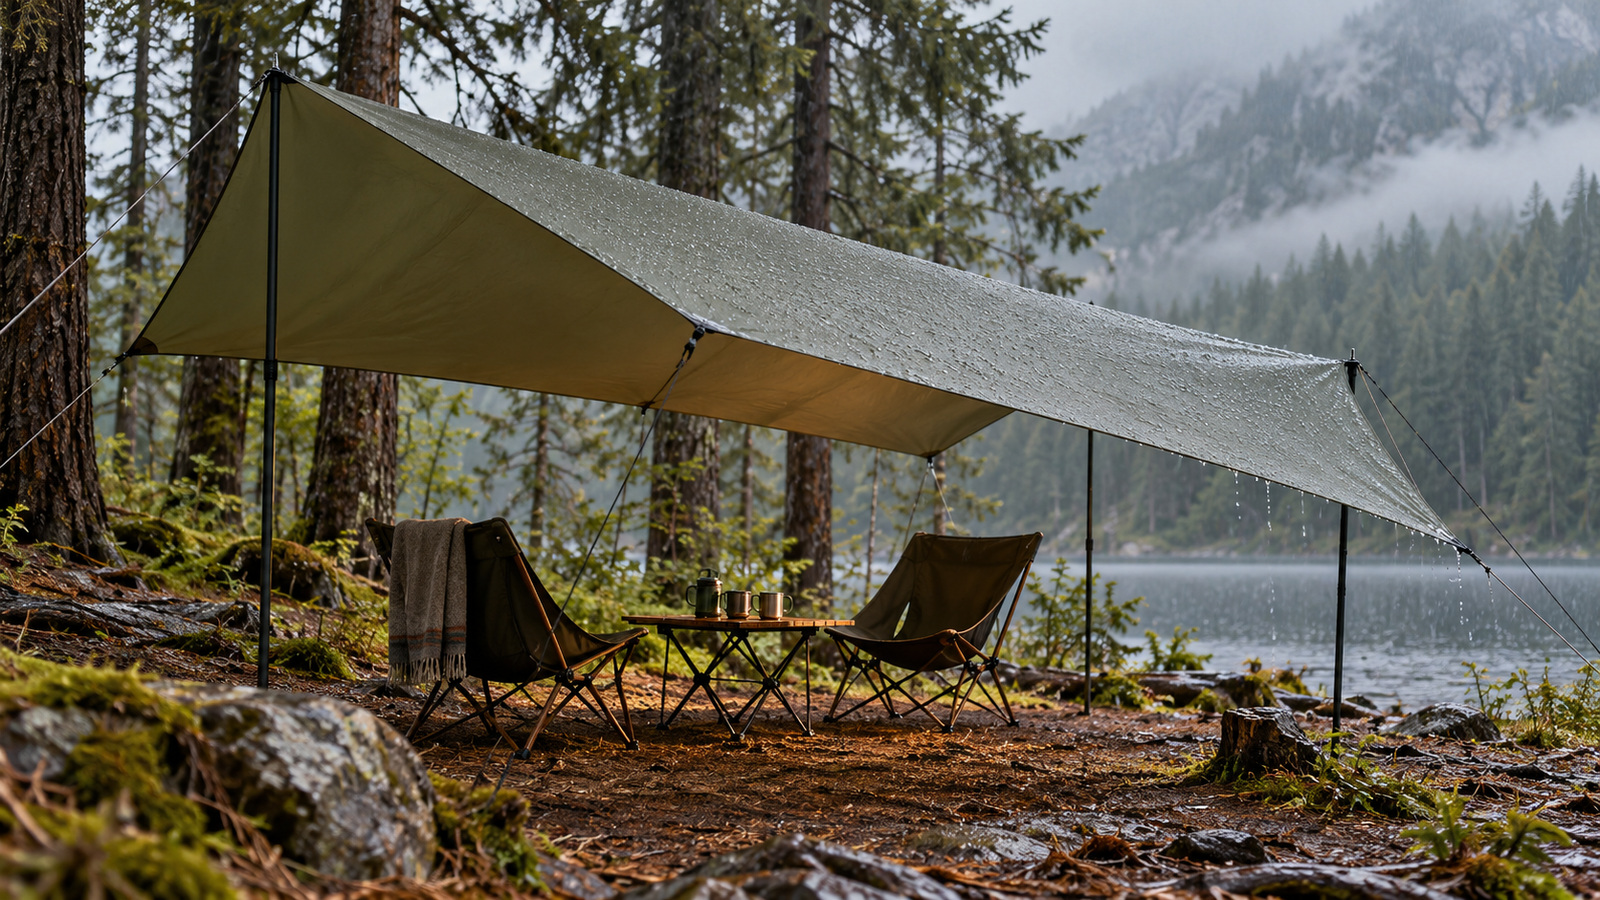
If possible, study a pitched example with furniture beneath it rather than relying on a flat product image. Note the distance between the seating and the nearest edge, the height where people stand, and how far the lines extend into surrounding space. These observations are more useful than a capacity label that does not describe your arrangement. Ask how many supports and stakes produce the pictured pitch and whether each is included. A complete comparison should describe the same usable setup for every candidate. That approach makes differences in price easier to interpret and reduces the chance of buying an apparently inexpensive tarp followed by a long list of necessary extras.
Account for Fabric, Seams, and Attachment Points
Waterproof fabric needs a working construction around it. Inspect information about seam treatment, reinforced tie-outs, and any sealing the manufacturer requires before use. A material’s water-resistance figure is one part of performance, not a complete forecast of comfort beneath every pitch. Tension, drainage, wear, and correct setup all matter. Avoid treating a single technical rating as permission to ignore the rest of the shelter system.
Fabric choice also influences packed bulk, handling, and the kind of care required. A robust vehicle-camping tarp can be a practical choice when carried weight matters less than repeated setup and shared use. A lighter design may suit campers transporting everything farther from the vehicle. Read the care guidance for the actual coating and material rather than relying on advice for a different tarp. Cleaning, drying, and storage should preserve the specific construction you bought.
Attachment points deserve close attention because they distribute the forces from the pitch. Use the intended tie-outs and supported hardware instead of attaching lines wherever the fabric seems convenient. Check whether replacement cord and compatible poles are readily available. Inspect high-stress areas after trips and address damage before relying on them again. A small tear at a frequently loaded corner can matter more than a large area of otherwise pristine fabric.
Bring Supports That Work Where You Camp
Independent poles can make a tarp more flexible on sites without appropriate trees, but their packed length and anchoring requirements must fit the trip. Check the pole type, connection method, and height range supported by the tarp’s instructions. Do not assume a spare tent pole is interchangeable with a dedicated support. Carry every required fitting and practice the complete arrangement. A tarp packed without its compatible support system is simply loose fabric at the moment you need shelter.
Where tree attachment is allowed, follow both land-manager rules and the tarp manufacturer’s instructions. Permission varies by destination, so confirm before planning an entire shelter around nearby trunks. For a concrete example, Big Bend National Park’s 2026 compendium prohibits attaching tarps and similar devices to natural features or plants. Other destinations can have different requirements. Plan a legal independent-support option when the site or rules make tree attachment unsuitable.
Shape the Pitch So Water Can Leave
A tarp should direct rain toward low edges rather than collect it in sagging pockets. Follow the intended pitch, apply appropriate tension, and check how the fabric slopes before weather arrives. Inspect again as conditions change, because a loose edge or shifted support can alter drainage. Keep the runoff away from chairs, tent entrances, and walking routes. If you cannot maintain a suitable pitch within the equipment’s limits, take it down and use a more appropriate shelter plan.
Shade Requires Placement as Well as Fabric
The shadow beneath a tarp moves as the sun moves. Think about the time you expect to sit there and place the shelter accordingly, within campsite rules and safe attachment options. A tall open pitch can feel airy, but it may offer little shade when the sun is low. Lowering or angling a side may improve coverage while reducing airflow and usable space. Compare those effects during a practice setup rather than assuming noon shade represents the entire day.
Do not infer a specific ultraviolet protection rating from an opaque appearance or dark color. Check whether the exact product states a tested rating and use appropriate personal sun protection as well. A tarp can make a sunny site more comfortable without eliminating exposure at open sides. Keep an eye on heat and changing conditions, particularly for children and anyone needing extra care. Shade is one part of a comfortable campsite routine.
Rain and sun can call for different pitches, so choose a manageable adjustment strategy. Know which lines you can retension and which changes require moving furniture or supports. Avoid creating a complicated arrangement that only one person understands. A straightforward shelter with a familiar adjustment sequence is easier to maintain through a changing afternoon. Flexibility becomes useful when it remains practical for the whole group.
Respect Wind, Fire, and the Space Around You
A large sheet of tensioned fabric can catch wind, and an open tarp is not a refuge from dangerous weather. Follow the manufacturer’s limits, monitor conditions, and choose an appropriate safer location when necessary. Stakes and poles do not make every pitch suitable for strong gusts. Check overhead hazards before setup and keep the shelter out of drainage paths. An appealing view does not compensate for a poor site when weather changes.
Keep cooking flames, heaters, and fire pits at the clearances required by their manufacturers and the land manager. A tarp roof does not automatically make a stove or fire arrangement acceptable, and fabric can be damaged by heat and sparks. Avoid basing a purchase on a photo that shows unsafe proximity. Plan food preparation separately where equipment instructions require it. The sheltered living area should not depend on ignoring clearance or ventilation requirements.
Practice the Whole Setup Before the First Rain
Pitch the tarp under suitable conditions at home or another permitted practice location. Follow the manufacturer’s pitching instructions for a product such as Noah’s Tarp, or the equivalent instructions for your chosen model. Place the actual chairs and table beneath it, then walk around the edges. Check headroom, guyline visibility, drainage direction, and access. Pack any missing hardware while the omission is still easy to correct.
Evaluate the entire carrying package after the rehearsal. Include poles, stakes suited to the permitted setup, cord, bags, and any required repair supplies. Compare the resulting bulk with the space left in the vehicle rather than the tarp’s folded fabric alone. Keep components organized in the order they will be needed during arrival. Familiar packing makes it easier to erect shelter before unpacking the things you want to keep dry.
After a trip, dry and clean the tarp as directed before storing it for an extended period. Check lines and attachment points while the fabric is spread out, and replace damaged compatible components before the next outing. Keep notes about the pitch that worked for your usual furniture and campsite size. A good tarp becomes easier to use through that practical familiarity. Its real value is a comfortable place to stay outside when ordinary rain or sun would otherwise send everyone into the tent.