The Best Cooler Is the One That Matches Your Actual Trip
A cooler purchase often begins with an impressive ice-retention claim and ends with a much more ordinary problem: the loaded box is difficult to lift, the lid cannot open beneath the cargo shelf, or there is not enough room left for food once the ice goes in. The best camping coolers for ice retention, durability, and value need to solve those practical problems together. A rugged premium chest can make sense for frequent remote trips, while a straightforward insulated cooler may be the better buy for nearby weekends with easy resupply. Start with your group, menu, transport, and access to ice. Then compare construction, usable space, handling, and support. This approach helps you buy useful cold storage rather than an expensive specification that does not fit the campsite.
A: No. Test conditions differ, and handling, usable space, and your actual trip also matter.
A: Yes, when the complete setup maintains appropriate food temperatures for the planned use.
A: Food containers, ice, baskets, and thick walls affect practical space beyond a nominal capacity number.
A: No. Vehicle loading, stairs, and difficult ground may still require lifting the loaded cooler.
A: Use an appliance thermometer and keep it at 40 degrees Fahrenheit or below under USDA guidance.
A: They can improve handling and separate frequent drink access, but take additional combined space.
A: No. Follow the destination's specific container, locking, and storage requirements.
A: Include the baskets, dividers, or other compatible items your packing plan actually requires.
A: Compare the exact size, configuration, seller terms, and complete delivered cost.
A: A plug facing a vehicle wall or other luggage may be inaccessible without moving the loaded chest. Confirm reachable operation, plug retention, and the instructed draining routine before settling on its packed position.
Work Backward From the Last Meal
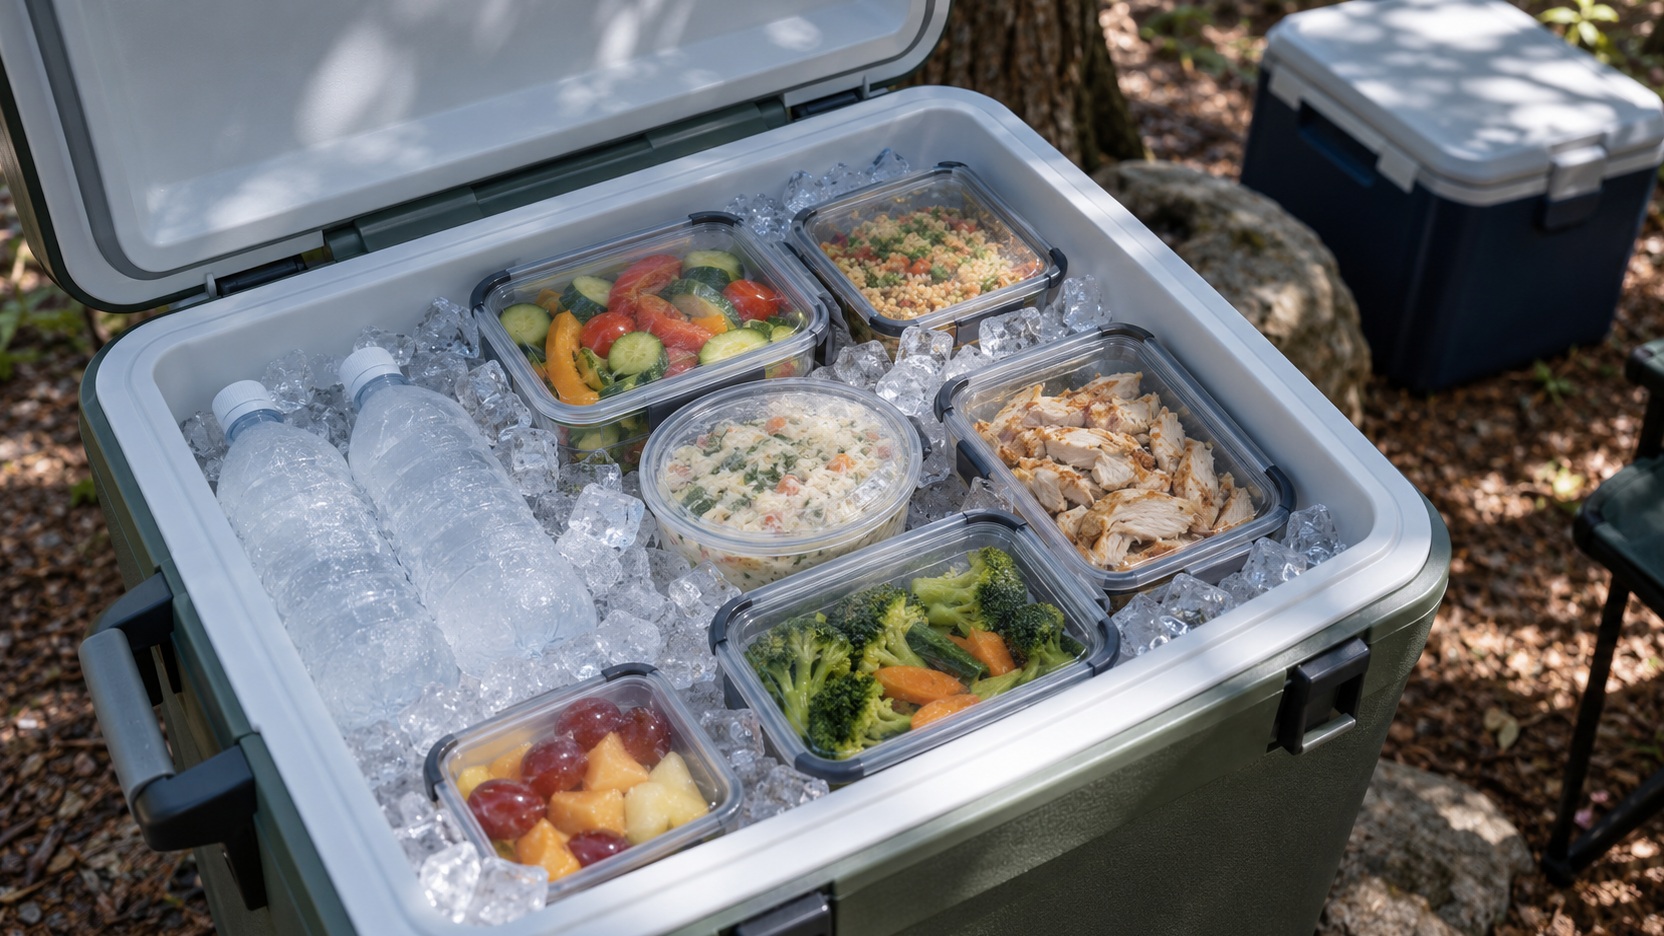
List the perishable food that must remain cold through the final planned meal, then consider how much space its packaging requires. Add an appropriate cold source rather than filling the cooler with food first and hoping ice fits around it. Tall bottles, broad containers, and a large block of ice occupy space differently. A simple home packing trial can reveal a capacity problem that a nominal quart number does not. Choose around a realistic food load instead of a photograph of neatly arranged cans.
Trip duration is only one variable. Four people opening a cooler throughout a hot afternoon create a different challenge from two people retrieving food twice a day in cool weather. Think about shade, travel time, whether the cooler stays in a warm vehicle, and the availability of replacement ice. These details shape what you need more clearly than a general claim about a week of camping. Compare your routine with the conditions behind any published retention statement.
Menu choices can make the cooler easier to use. Meals based partly on shelf-stable ingredients reduce the amount of refrigerated food competing for space. That does not remove the need to manage the perishables you do carry. It simply lets you decide where cold storage adds the most value. A cooler sized around a deliberate menu is often more practical than buying a much larger chest to accommodate unplanned groceries.
Distinguish Ice Retention From Food Safety
Visible ice and cold-feeling packaging are not a complete food-safety check. Use an appropriate appliance thermometer and follow current food-handling guidance for perishable items. The USDA advises keeping cooler food at 40 degrees Fahrenheit or below. A manufacturer’s retention claim does not establish that every part of your particular load will remain at that temperature for the advertised duration. Select a cooler that supports your plan, then verify conditions rather than treating the purchase itself as a guarantee.
Know When a Basic Hard Cooler Is Enough
For occasional campground weekends, a conventional insulated hard cooler can offer strong practical value. Lower purchase cost may leave room in the budget for a thermometer, suitable food containers, and enough ice. The useful question is whether the complete arrangement handles your normal trip reliably. Avoid dismissing an affordable design solely because it lacks the thick walls or heavy latches of a premium chest. Practical suitability depends on use, not a construction category alone.
Inspect the lid closure, hinges, drain, handles, and interior shape carefully. Check how the lid stays out of your way while loading and whether you can operate everything comfortably. A lightweight empty box is appealing, but handles still need to suit the load you intend to carry. Review the exact product information instead of assuming every conventional cooler has the same insulation or hardware. Buy a specific useful design rather than an abstract price tier.
When a Rugged Rotomolded Chest Deserves Consideration
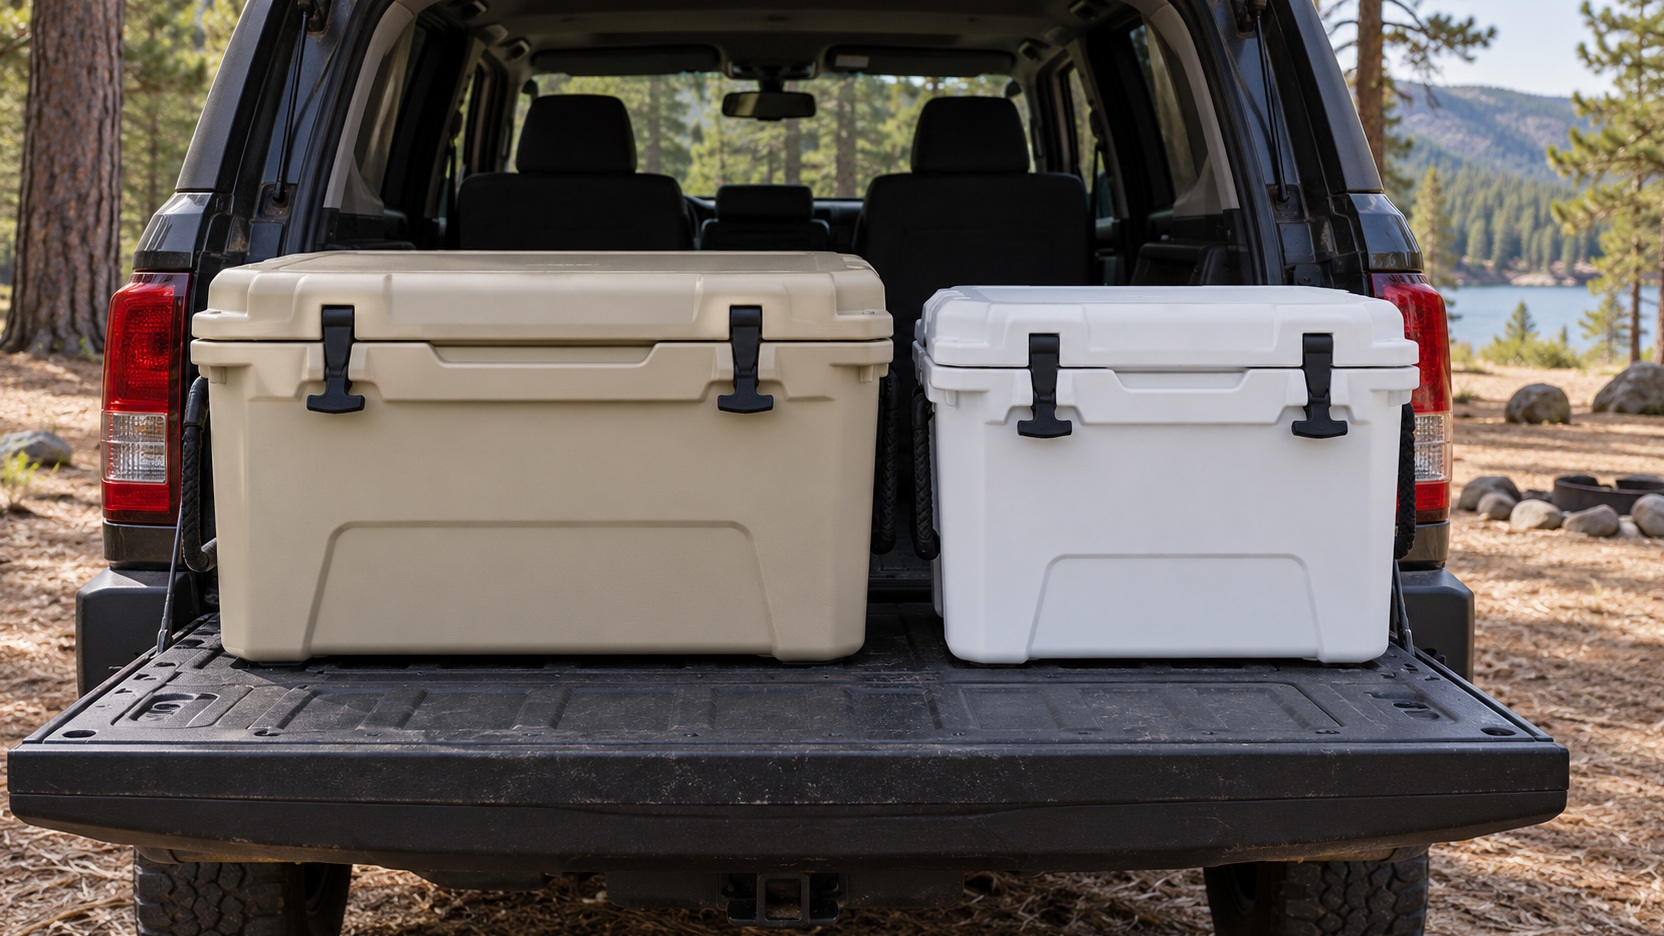
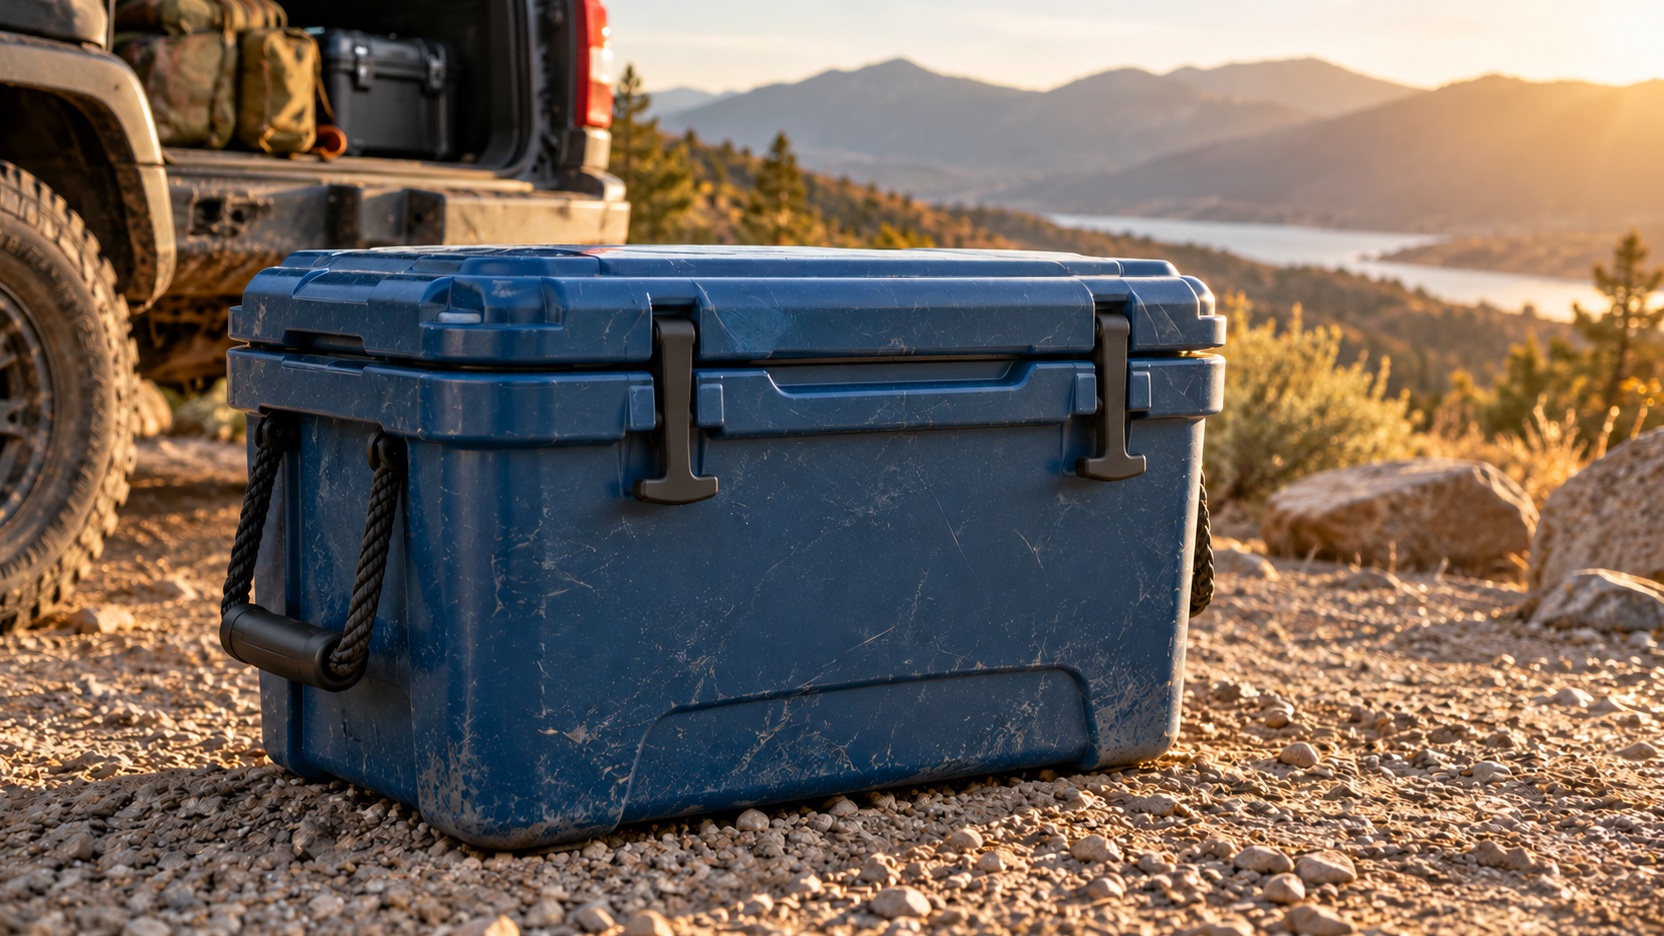
Frequent use, rough transport, and demanding packing routines can justify looking at a heavier, more substantial cooler. Thick-wall designs and secure closures may provide benefits you will appreciate over repeated trips. The tradeoff is that insulation and construction occupy exterior space and add empty weight. Compare the usable interior against the vehicle footprint before deciding the larger shell is worth carrying. Durability has practical value when the whole box remains manageable.
The YETI Tundra 45 and RTIC 45 QT Ultra-Tough are examples to compare in this category. Both manufacturers describe rotomolded construction, but the products differ in size, weight, included accessories, and purchase terms. They belong on a shortlist when that construction suits the trip, rather than serving as automatic winners for every camper. Check the exact current model and retailer listing before ordering.
Do not turn rugged appearance into an assumption about food protection from wildlife. Campground food-storage rules can require particular containers, locking arrangements, lockers, or vehicle storage practices. A latch or lock hole is not proof that a cooler meets the rules at your destination. Follow the land manager’s requirements for the specific location and equipment. Cold storage and wildlife storage are related planning tasks with different requirements.
Compare Loaded Handling Before Paying for More Capacity
Empty weight is the beginning of the lifting calculation. Food, beverages, containers, and ice can change the experience considerably, especially when lifting from the ground to a high vehicle opening. Consider who will move the cooler and whether help is reliably available. Try the handle position with a realistic safe test load where possible. A cooler that requires a difficult lift every morning may be a poor purchase even if its interior size looks ideal.
Two smaller coolers can sometimes solve both handling and organization problems. One can serve drinks while the other holds meal ingredients with fewer openings. That arrangement takes more combined exterior space and may require more containers, so compare it honestly with one larger chest. The advantage should come from a task you can describe, such as keeping frequent beverage access separate. Buying two boxes without a clear plan merely adds another packing problem.
Choose Wheels for the Ground You Will Cross
A wheeled cooler is useful when its wheel size, handle, balance, and loaded weight suit the actual route between vehicle and campsite. Smooth pavement, loose gravel, roots, and soft sand present different carrying problems. Test pulling and maneuvering the model when possible, and account for situations where it must still be lifted. Wheels can also affect exterior dimensions and usable packing space. Choose them because they solve your routine transport task, not because a wheeled design appears universally easier.
Evaluate Small Hardware That Gets Used Every Day
Latches should be comfortable for the people opening the cooler, and the lid should close as designed without trapping containers against the seal. Look at how the gasket sits and how it can be cleaned or replaced if the maker provides that option. Check the handle attachment and whether ropes or straps are easy to keep clear of the lid. These details receive repeated use across a trip. A small inconvenience can become more noticeable than an extra feature you rarely touch.
Drains deserve a practical inspection. Confirm how the plug is retained, whether access remains clear in your planned cargo arrangement, and what the instructions say about use and cleaning. A drain located against a vehicle wall may be difficult to reach without moving the box. Do not assume a more complicated arrangement is necessarily better. Choose a system you can operate consistently without losing a small essential part.
Consider storage accessories in the context of the food you carry. A dry basket can protect suitable items from meltwater, while a divider may improve organization at the cost of flexible space. Check whether those accessories are included or purchased separately for the exact model. Their value is easier to assess after a packing trial. Avoid buying every compatible piece before learning where your real load needs help.
Read Retention Claims With Their Conditions Attached
Ice-retention statements depend on starting temperatures, ice quantity, ambient conditions, lid openings, and test procedures. Two manufacturers may not use the same method, so their day counts are not automatically a fair head-to-head comparison. Look for explanations of preparation and use rather than treating the largest printed number as the decisive result. Your own trial with a thermometer and realistic packing offers more relevant feedback. Published claims can help frame expectations without replacing observation.
Prechilling and sensible organization can improve the starting conditions of many cooler setups, but they are not permission to overpromise. A shaded weekend near ice resupply differs from several hot days far from services. Build in a way to replenish cooling or change the food plan if needed. A reliable system includes that contingency alongside the insulated box. The best equipment choice supports decisions you can verify during the trip.
Calculate Value Beyond the Checkout Price
Compare purchase price for the exact model, size, color, and seller, including the accessories you actually need. A temporary discount can change the result, so avoid assuming a brand always occupies the same price position. Read return terms and warranty conditions before purchase, particularly when packed size or handling is difficult to judge online. An inexpensive cooler that does not fit the vehicle is not a useful bargain. Neither is an expensive chest whose extra capability never matches your trips.
Think about how often you will use it over several seasons. Frequent campers may place more value on available replacement hardware, familiar operation, and a construction style suited to repeated transport. Occasional users may sensibly prefer a lighter or simpler cooler with a smaller initial cost. Both approaches can be reasonable when the food-storage plan remains sound. The useful comparison is cost for an appropriate system, not prestige per dollar.
Separate genuine requirements from appealing extras. A bottle opener or decorative finish may be pleasant, but it should not outweigh awkward carrying or insufficient interior dimensions. Write down the three constraints that matter most before comparing listings. For one camper that may be manageable lifting, suitable food capacity, and price; for another it may be rough-road durability, vehicle fit, and hardware support. A clear priority order helps you stop shopping when a cooler actually meets the need.
Make the First Trip a Practical Evaluation
Pack the cooler at home with the containers and cold sources planned for camp, and verify that the lid closes properly. Place it in the vehicle, check access, and consider how it will be moved after arrival. During the trip, use the thermometer and observe which tasks create unnecessary openings or digging. Keep observations specific enough to guide a change. Poor organization, insufficient ice, and unsuitable capacity require different solutions.
Clean and dry the cooler according to its instructions after returning home. Inspect the closure, gasket, handles, and drain before storing it in a suitable location. Record what worked for your menu and weather so the next packing plan starts from experience. The best camping cooler is part of a repeatable food-storage routine. When cooling performance, handling, durability, and cost all fit that routine, the purchase delivers real value. Keep a brief record of those practical requirements with your camping inventory. If a future trip needs a different food load or access route, compare that new requirement against the cooler you already own before assuming an upgrade is necessary. A change in organization may be enough, while a genuine capacity or carrying problem deserves a more specific solution.