A Rechargeable Lantern Should Fit Your Departure Routine
The easiest lantern to enjoy on Friday night is the one you remembered to charge before leaving home. Rechargeable camping lights can remove a recurring battery purchase and make weekend packing simpler, but only when their ports, controls, and energy needs fit the way you travel. A tiny lantern for a tent has a different job from a table lamp shared by six people, and a phone-charging socket changes the power budget again. Rechargeable camping lanterns worth packing combine the right light with a routine you can repeat without much effort. Choose a useful size first, check the exact charging arrangement second, and make sure the light still works for the trip when weather, driving time, or access to an outlet changes.
A: No. It may be input only; check the product's explicit output capability.
A: Product-family names do not guarantee identical connectors across models.
A: Assign one person to complete charging and confirm the manual-defined full indication, then make the packed light visible to the other. An explicit handoff prevents each camper from assuming the other handled it.
A: It is generally an emergency feature with limited output, so use the normal supported charging method.
A: Only when the specific product supports that operation and the setup meets its instructions.
A: They consume stored energy that would otherwise remain available for lighting.
A: It exposes incompatible or damaged equipment before you need it at camp.
A: The working cable may remain beside a sofa or home charging station after the lamp is returned. Keep its cable pouch assigned to the camping kit and check both pieces before departure.
A: When a real recurring inconvenience or lighting improvement justifies the complete replacement cost.
A: Read service, replacement, storage, and warranty guidance for the exact model.
Map the Recharge Window Before Comparing Lamps
Think about where charging will actually occur. A lantern that starts each short weekend full has different requirements from one used nightly during a long road trip. At home, several uninterrupted hours may be easy. On the road, a short drive with multiple devices competing for a charger can be a much smaller opportunity than it appears.
Write down the likely windows rather than relying on the presence of a USB socket somewhere in the vehicle. Check the available charger’s supported output and the lantern’s input requirements. If charging must happen while other equipment runs, confirm that arrangement is allowed. A convenient connector does not guarantee that every power source delivers the charging behavior you expect.
Choose one regular charging moment that already fits your habits, such as the evening when food is packed. Put the lamp where the completed charge will be noticed rather than leaving it behind on a desk. If more than one person prepares the gear, make ownership of this task clear. Consistency is more useful than a sophisticated charging feature nobody remembers to use.
Choose the Lighting Size Independently
Start with how the lantern will be used after dark, not how impressive the charging feature looks. A compact tent lamp can be easy to pack and still inadequate for a group preparing dinner around a large table. A bigger table lantern can be useful while occupying unnecessary room in a solo overnight kit. Separate the light requirement from the charging method so neither feature distracts from the other.
Use a Compact USB-C Reference
BioLite’s AlpenGlow range includes the Mini as a compact rechargeable option. It is worth examining for campers who want a small lamp for nearby shared space rather than a broad kitchen light. Check its current dimensions, hanging arrangement, white-light settings, and exact runtime table against the job. A small packed size should be evaluated alongside how comfortably you can operate the controls.
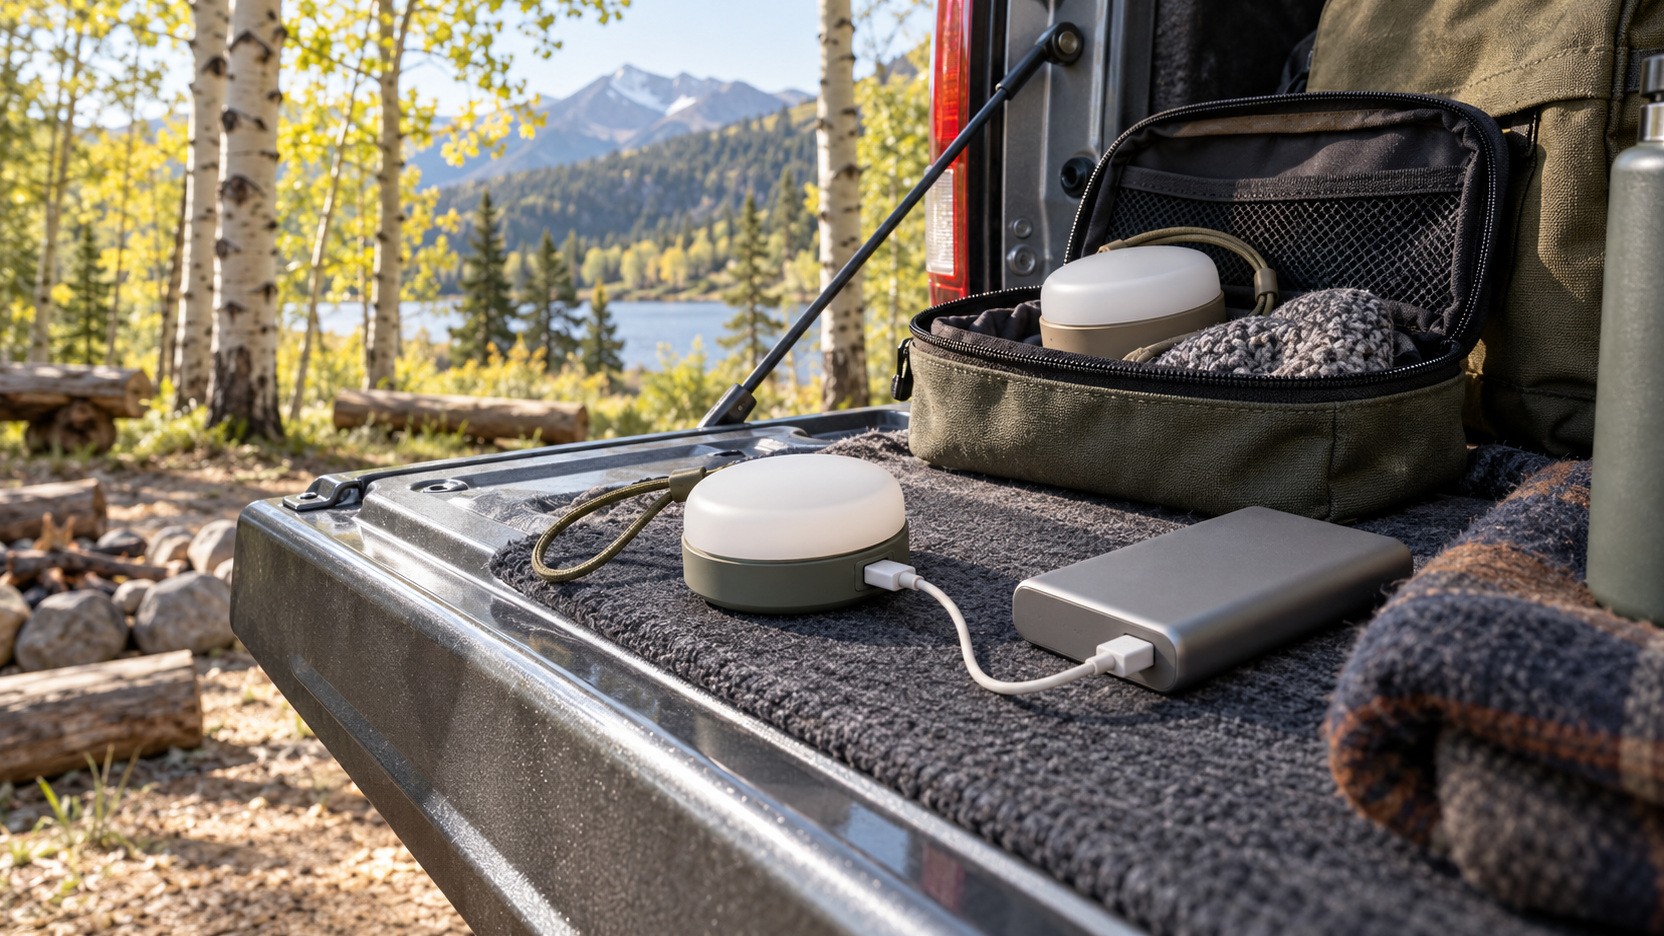
BioLite confirms that AlpenGlow Mini charges through USB-C and does not provide power out. That distinction is useful: a familiar port can be a charging input without turning the lamp into a power bank. Buy it for its lighting role and plan phone charging elsewhere. This category is a good fit when a modest lamp starts the weekend full and an existing USB power source can handle occasional replenishment. It is less appealing if you expect one light to illuminate every activity or if a built-in battery conflicts with your preferred resupply method. Match the complete routine before rewarding the smallest object on the shelf.
Consider a Larger Rechargeable Shared Light
A larger diffuser and more substantial battery can make sense for group meals and long evenings. The BioLite AlpenGlow 500 specification provides a useful example: its listed charging input is Micro USB, while a separate USB-A output can supply another device. This is exactly why checking the specific model matters even within one product family. Do not assume the Mini’s connector applies to its larger relatives. The larger format is worth carrying when people genuinely share its light. It may also offer useful color or directional settings, but those extras should follow comfortable white illumination and an understandable dimming routine. Compare the charging cable and charger with equipment already in your kit. One older connector is manageable when planned, frustrating when discovered after arrival.
Examine an Emergency-Oriented Alternative
The Goal Zero Lighthouse 600 illustrates a different direction, combining adjustable lighting, a USB output, folding supports, and a hand crank. Its directional operation can be useful when only one side of a table needs light. The crank is a limited emergency feature rather than an attractive substitute for routine charging. Assess the additional hardware and packed bulk against how often those functions would actually help your trips.
Read the backup feature’s actual limits rather than imagining a fully recharged battery after a quick turn of the handle. Low emergency illumination and ordinary table brightness are different workloads. Practice the procedure while the instructions are available and decide whether you would realistically use it. If the answer is no, a simpler lamp may provide better value and fewer pieces to pack.
Separate Input Ports From Output Ports
A charging input receives energy; an output shares stored energy with another device. A lantern can have either function, both, or neither in a connector shape you recognize. Read the labeling and manual before connecting equipment. Where input and output use separate sockets, make sure the correct cable is accessible without disturbing the lamp’s stable position.
Phone charging reduces the energy left for illumination. That can be a useful trade during an unexpected need, but it should be a deliberate decision rather than a free bonus assumed in the runtime plan. Keep important phone and navigation charging on an independently budgeted source when possible. The campsite light should not disappear because its battery quietly became everybody’s shared charging station.
Also check whether operation during charging is supported. Some products allow it under stated conditions; others require a different routine. Cable reach, moisture protection, and trip hazards matter even when the electrical arrangement is approved. A lamp that must remain tethered all evening may need a different placement than one running freely from its battery.
Build a Cable Kit That Cannot Surprise You
Make a small dedicated pouch with the exact cable and any approved adapter the lantern needs. A connector that looks close is not close enough, and a cable left in a home charging station is unavailable at camp. Test the complete combination of lamp, cable, and power source before departure. This catches damaged leads and unsuitable chargers without turning the trip into troubleshooting. Keep the pouch accessible enough for daylight charging rather than buried beneath sleeping gear. Cap or protect ports as the instructions require, and avoid pulling cables sideways while the lamp is connected. A tidy charging location reduces both damage and confusion. It also makes it easier to see whether the lamp is truly charging before the vehicle moves or the power source is packed away.
Read Charging Time With Its Assumptions
Published charging times depend on a stated input and battery condition. A lower-output source, competing loads, unsuitable conditions, or an interrupted session can produce a different result. Use the manufacturer’s specified charger requirements and temperature limits rather than expecting every USB connection to finish equally quickly. Treat a brief top-up as partial replenishment until the indicator and instructions establish otherwise.
Check the indication used when charging is complete and learn whether it changes during an interruption. A glowing indicator alone may not mean the battery is full. When in doubt, use the manual’s explanation rather than leaving the lamp connected indefinitely as a substitute for understanding it. Reliable feedback makes a short roadside top-up easier to manage.
Plan Runtime Around the Modes You Use
A bright meal-preparation setting consumes energy differently from a dim evening setting. Read the mode table and estimate each part of the night separately. For example, a short dinner period followed by several low-light hours is a different workload from leaving the lantern at maximum output until bed. A high lumen figure and a long low-mode runtime should never be combined into one performance claim.
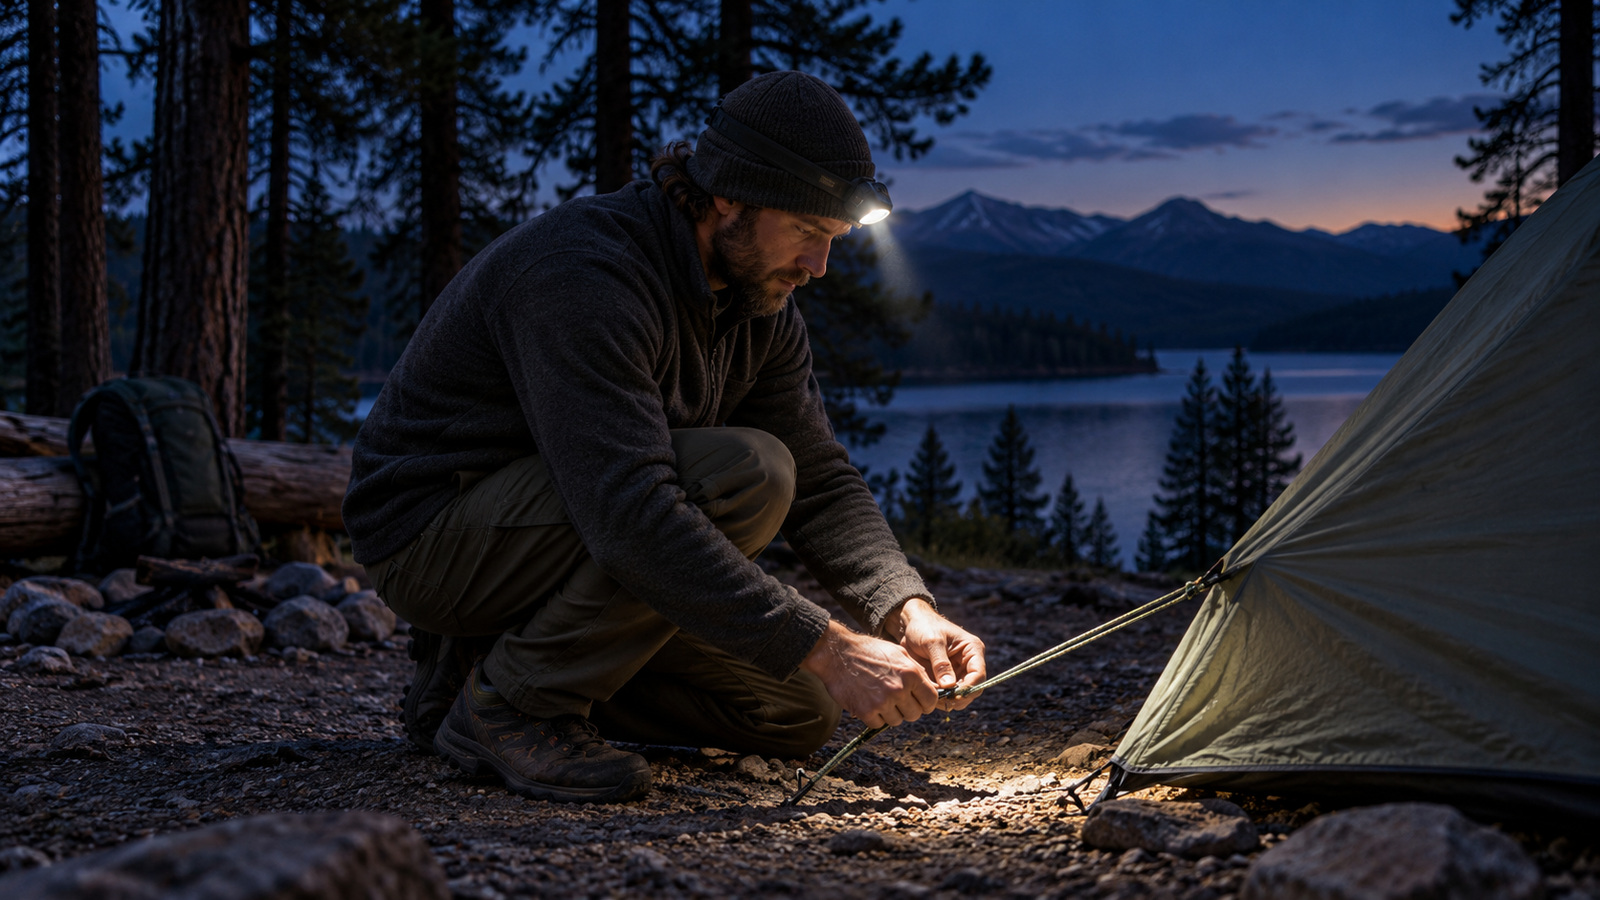
Rehearse a representative evening at home using the settings you like. Notice whether the light remains comfortable and useful as the battery runs down, and check how low-battery warnings behave. Leave margin for unexpected use and changing conditions on the trip. A personal headlamp provides a separate way to move around if the shared lantern needs attention.
Account for everyone who borrows the lamp. Children may enjoy extra modes, and another camper may increase brightness for a task without returning it afterward. Explain the normal setting and where the personal lights live. A shared understanding of the lamp’s role can extend useful evening light more effectively than simply buying a larger battery.
Keep Rechargeable Equipment Dry and Supported
An outdoor light’s water rating and its charging instructions describe different limits. A product may tolerate splashes during operation while still requiring a dry port before charging. Follow the manual’s environmental and temperature limits, including those specific to the battery. Move the recharge task to an appropriate dry location rather than improvising a cover that traps heat or moisture.
Support the lamp and power source securely so a bumped cable does not pull them off a table. Keep electrical gear away from hot cooking equipment and ordinary washwater. If a charging port, cable, or battery shows damage, use the manufacturer’s support process before further use. The convenience of rechargeable equipment depends on treating the battery and connector as working parts that need care. For storage between trips, follow the recommended charge level and inspection schedule. Leaving a lamp forgotten until its next holiday can expose a depleted battery or a missing cable too late. Add a simple light check to the existing packing routine. One deliberate check is more useful than a complicated reminder system nobody follows.
Compare Serviceability and Total Cost
Check whether the battery is user-replaceable, what replacement support exists, and which repairs the manufacturer actually permits. A built-in pack can be convenient without being a lifetime component. Do not assume that a casing which can be opened should be opened or that a visually similar cell is a supported replacement. Read warranty and service guidance before making repairability part of the value claim.
Compare current purchase prices with the needed cable, charger, and any dedicated power source. A cheaper lamp is not necessarily a cheaper system if it requires equipment you do not otherwise carry. Conversely, a familiar connector alone does not justify replacing a working lantern whose cable is already organized. Spend where it removes a recurring inconvenience or improves the light you use.
Consider the household role too. A lantern used during occasional power outages may justify more capacity than one carried only into a small tent. Keep that second purpose explicit so it does not inflate the camping kit by accident. A lamp can serve both places well when the charging cable, storage location, and expected brightness remain easy to understand.
Pack a Routine That Works Twice in a Row
Choose a compact USB-C lamp such as the AlpenGlow Mini category when small nearby lighting and simple input charging fit the trip. Consider larger shared lanterns when the table needs broader coverage, checking each model’s actual port and battery functions. Emergency-oriented designs may earn their space when their specific backup features suit the household as well as camp. Before leaving, charge, test the preferred mode, engage transport lockout where provided, and put the cable beside the lamp. A rechargeable lantern becomes worth packing when this routine is so clear that the second weekend is as easy as the first.