When people think about wilderness survival, fire often comes to mind first. But in many real outdoor emergencies, shelter is even more important. Exposure to wind, rain, cold temperatures, and extreme sun can quickly become dangerous. In survival situations, protecting your body from the environment is often the first priority, sometimes even before finding food. Knowing how to build an emergency shelter in the wild is one of the most valuable beginner survival skills. Whether you are lost on a hiking trail, stranded during bad weather, or facing an unexpected overnight stay outdoors, a simple shelter can protect your body heat, keep you dry, and help you stay calm until help arrives. Building a shelter does not require expert wilderness knowledge or expensive equipment. With basic planning, natural materials, and an understanding of your surroundings, even beginners can create effective protection in the outdoors. The key is learning what matters most: location, insulation, weather protection, and safety.
A: A tarp lean-to or simple A-frame is usually fastest if you have a tarp and cordage.
A: Build a debris shelter with branches for structure and thick leaves or grass for insulation.
A: Choose high, dry, stable ground away from dead trees, flood paths, cliffs, and animal trails.
A: Make the shelter small, block wind, and add thick insulation underneath your body.
A: Stay close enough to access water, but not in streambeds, flood zones, or damp low areas.
A: Avoid it if possible because the ground can drain body heat quickly.
A: Use a thick layer of leaves, grass, or branches; more insulation is usually better.
A: It can be, but it needs ventilation, stable snow, and careful monitoring for collapse risk.
A: No. Keep flames outside and manage smoke, sparks, and carbon monoxide risk carefully.
A: Building too late, too big, or in a dangerous spot instead of choosing a safe site first.
Why Shelter Comes Before Comfort
In survival situations, shelter is not about convenience—it is about survival. The human body loses heat quickly when exposed to cold wind, rain, or wet ground. Hypothermia can happen faster than many people realize, even in temperatures that do not seem dangerously cold.
Rain and snow make the problem worse by soaking clothing and increasing heat loss. Strong wind strips away body warmth, while intense sun in hot climates can lead to dehydration and heat exhaustion. A proper emergency shelter helps regulate body temperature and creates a safer environment for recovery and planning.
Many beginners focus first on food or navigation, but survival experts often follow the rule of priorities: shelter, water, fire, then food. Without shelter, your body becomes vulnerable long before hunger becomes the main issue.
Stay Calm and Assess the Situation
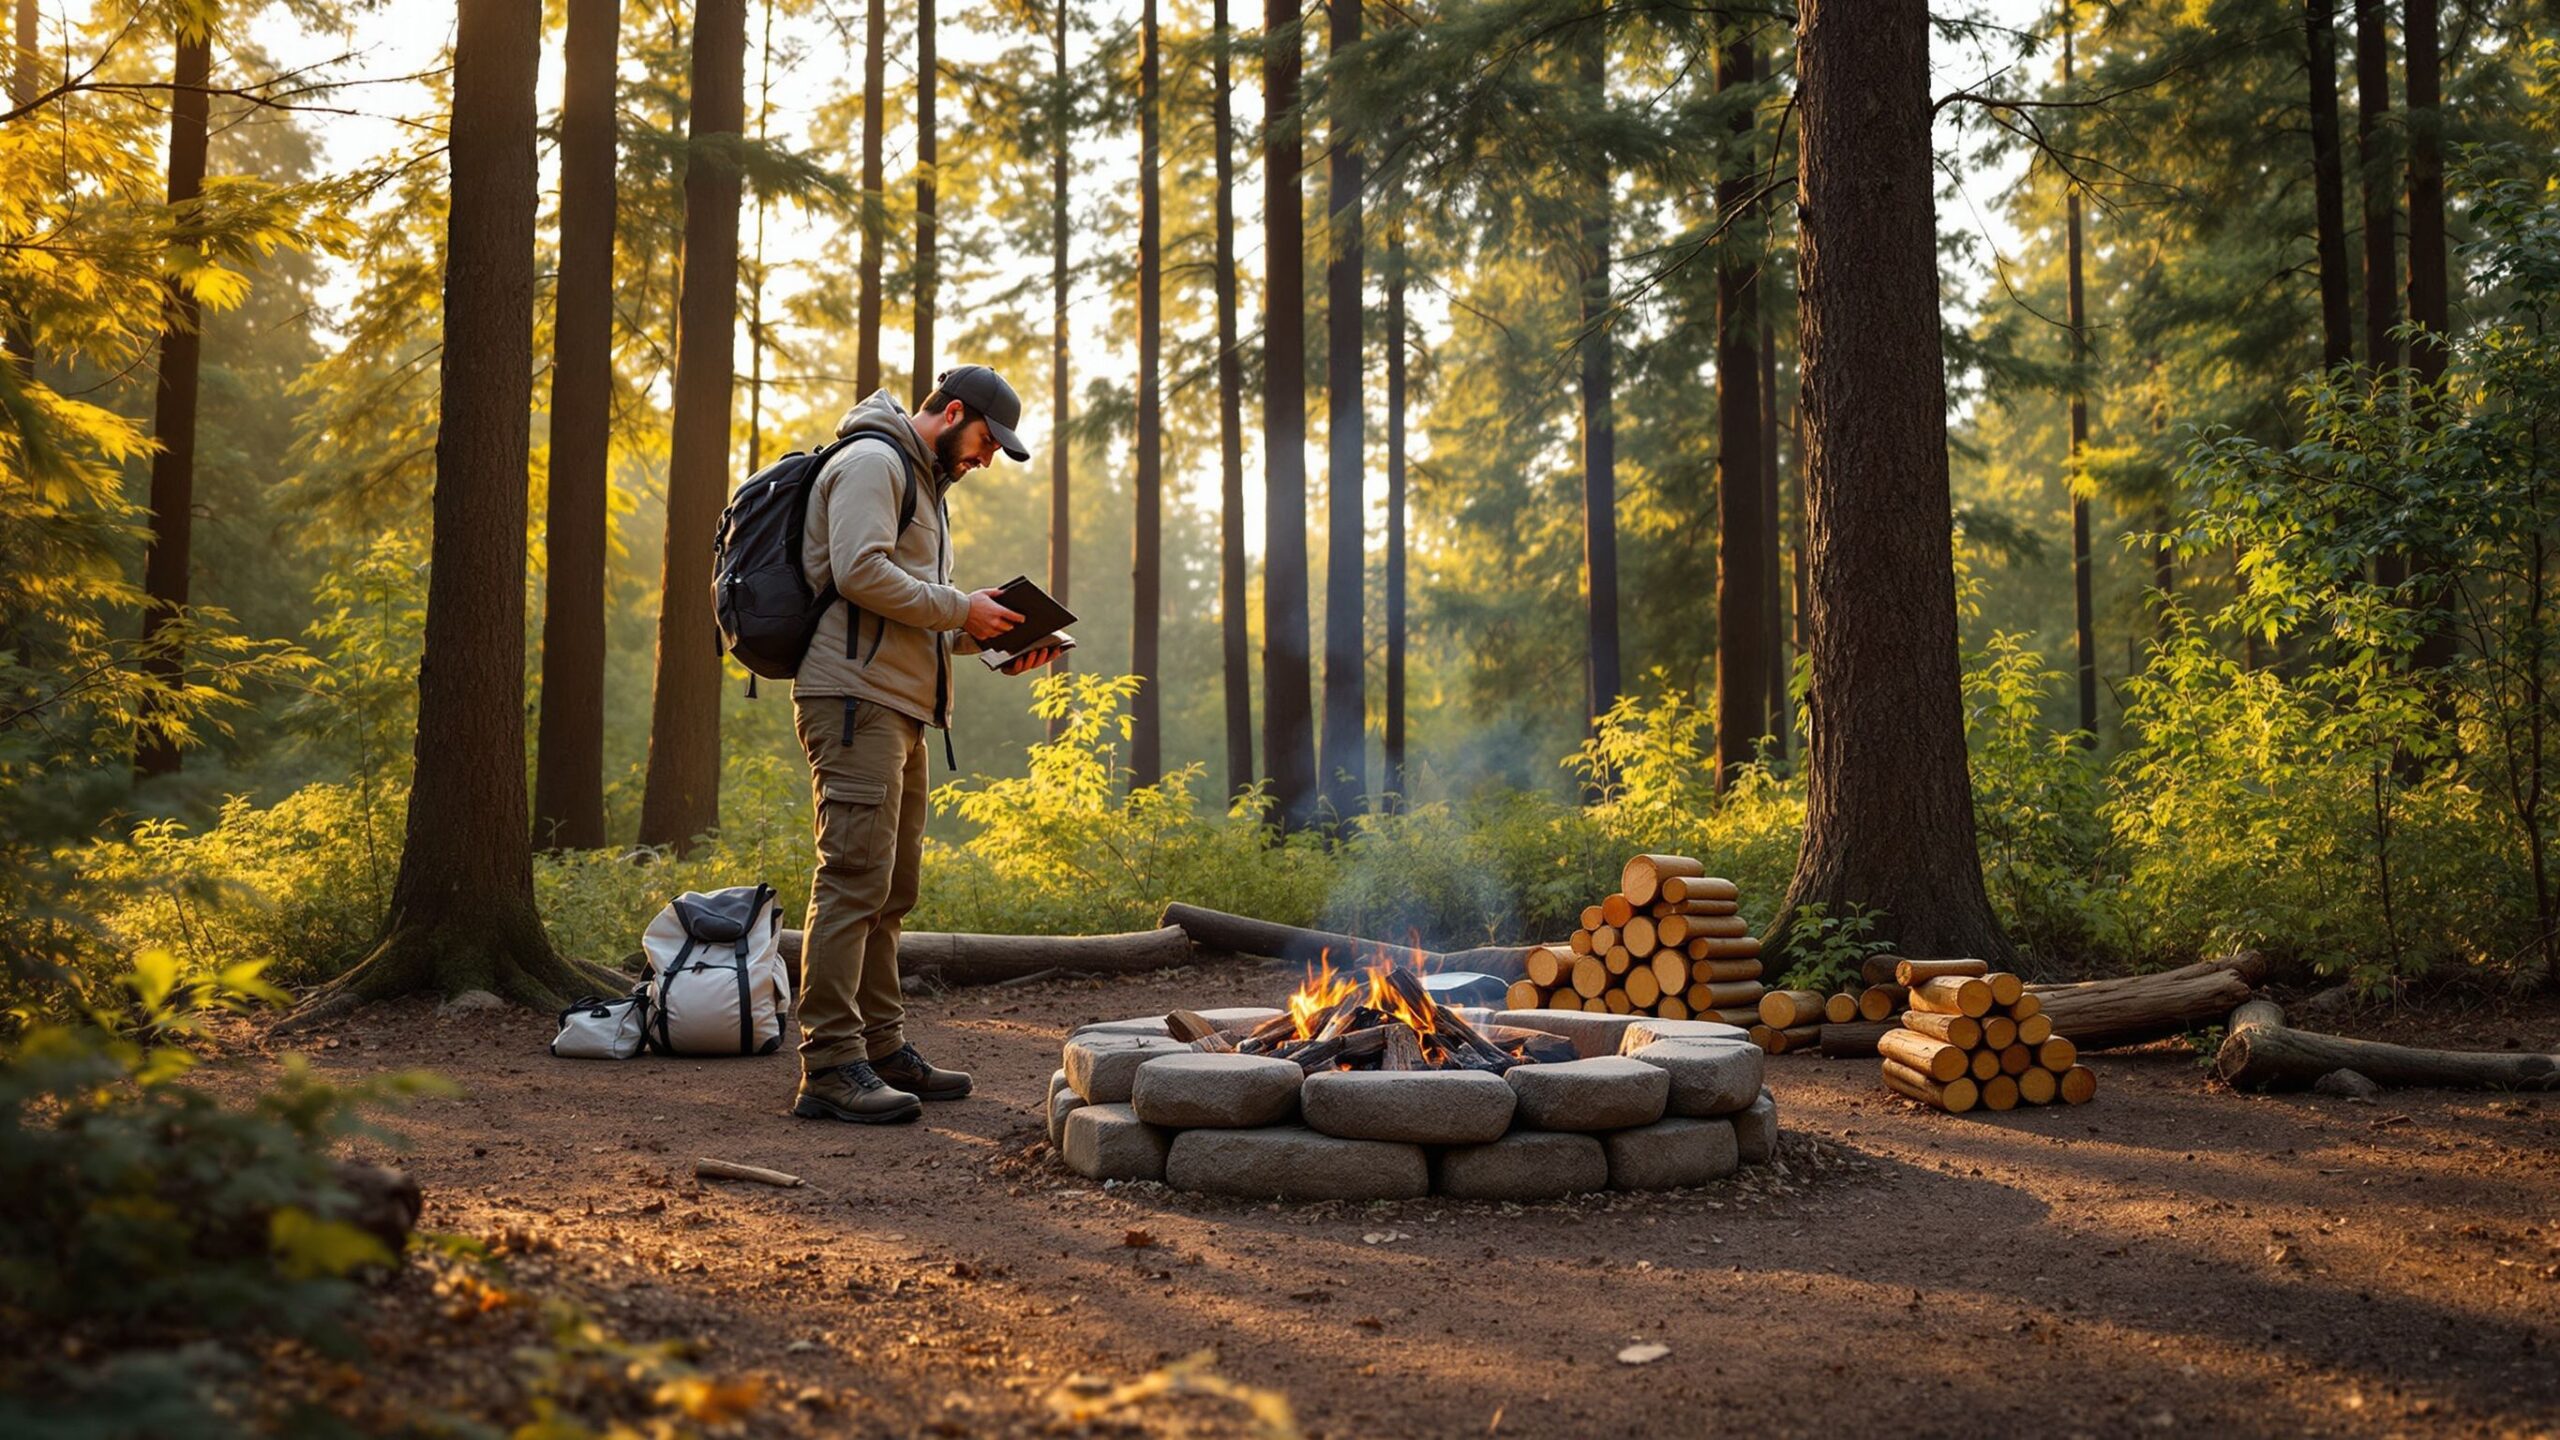
The first step in any emergency is staying calm. Panic leads to poor decisions, wasted energy, and unnecessary risks. Before gathering branches or building anything, take a moment to assess your surroundings.
Look at the weather conditions. Is rain coming? Is the temperature dropping? Is the wind strong? Consider how much daylight remains. Building a shelter in darkness is much harder than starting while you still have light.
Think about your physical condition as well. If you are injured, exhausted, or wet, your shelter needs become even more urgent. Your goal is not to build a perfect cabin—it is to create fast, reliable protection using what is available.
Choosing the Best Shelter Location
Location is one of the most important decisions in wilderness shelter building. A poor location can turn even a strong shelter into a dangerous mistake.
Choose ground that is dry, level, and protected from strong wind. Avoid low areas where rainwater can collect overnight. Valleys may look sheltered, but they often become cold pockets where moisture settles. Higher ground with natural windbreaks like trees or rocks is usually safer.
Stay away from dead trees, unstable branches, and steep slopes where falling debris could become a risk. Do not build directly beside rivers that may rise unexpectedly. If wildlife signs are present, such as large tracks or active nests, choose another location.
A good shelter location provides both protection and access to useful materials like branches, leaves, and dry wood.
Use What You Already Have
Before relying entirely on natural materials, check your gear. A tarp, emergency blanket, poncho, tent rainfly, or even a large trash bag can dramatically improve your shelter. A simple piece of waterproof material often saves time and energy.
Backpacks can help block wind. Hiking poles can support shelter walls. Paracord, shoelaces, or even strips of clothing can help tie branches together. In survival situations, creativity matters as much as equipment.
Many effective shelters are built by combining outdoor gear with natural materials. Even a lightweight emergency blanket paired with branches and leaves can create strong protection against cold wind and rain.
The Lean-To Shelter for Beginners
One of the easiest emergency shelters for beginners is the lean-to. It is simple, fast to build, and highly effective when weather protection is the main goal.
Start by finding a sturdy fallen branch or placing a strong pole between two trees. This becomes your main support beam. Lean smaller branches against one side of the beam at an angle to form a slanted wall.
Cover these branches with leaves, pine needles, moss, grass, or other natural insulation. The thicker the covering, the better the protection. The goal is to block wind and trap warmth, not create perfect appearance.
A lean-to works especially well when placed facing away from the wind, with a small fire safely built nearby for additional warmth.
The Debris Hut for Cold Conditions
If temperatures are especially cold, a debris hut provides better insulation than a lean-to. This shelter is smaller and designed to trap body heat.
Build a ridgepole by leaning one long branch against a tree stump, log, or rock. Place smaller sticks along both sides to create a frame shaped like a narrow tunnel. The structure should be just large enough for your body to fit inside—not oversized.
Cover the frame with thick layers of leaves, dry grass, pine needles, and forest debris. More insulation means more warmth. In cold conditions, several feet of debris may be necessary to hold heat effectively.
The entrance should be small and partially blocked at night with extra leaves or a backpack to reduce heat loss. A debris hut is less comfortable than a larger shelter, but it performs much better in cold survival conditions.
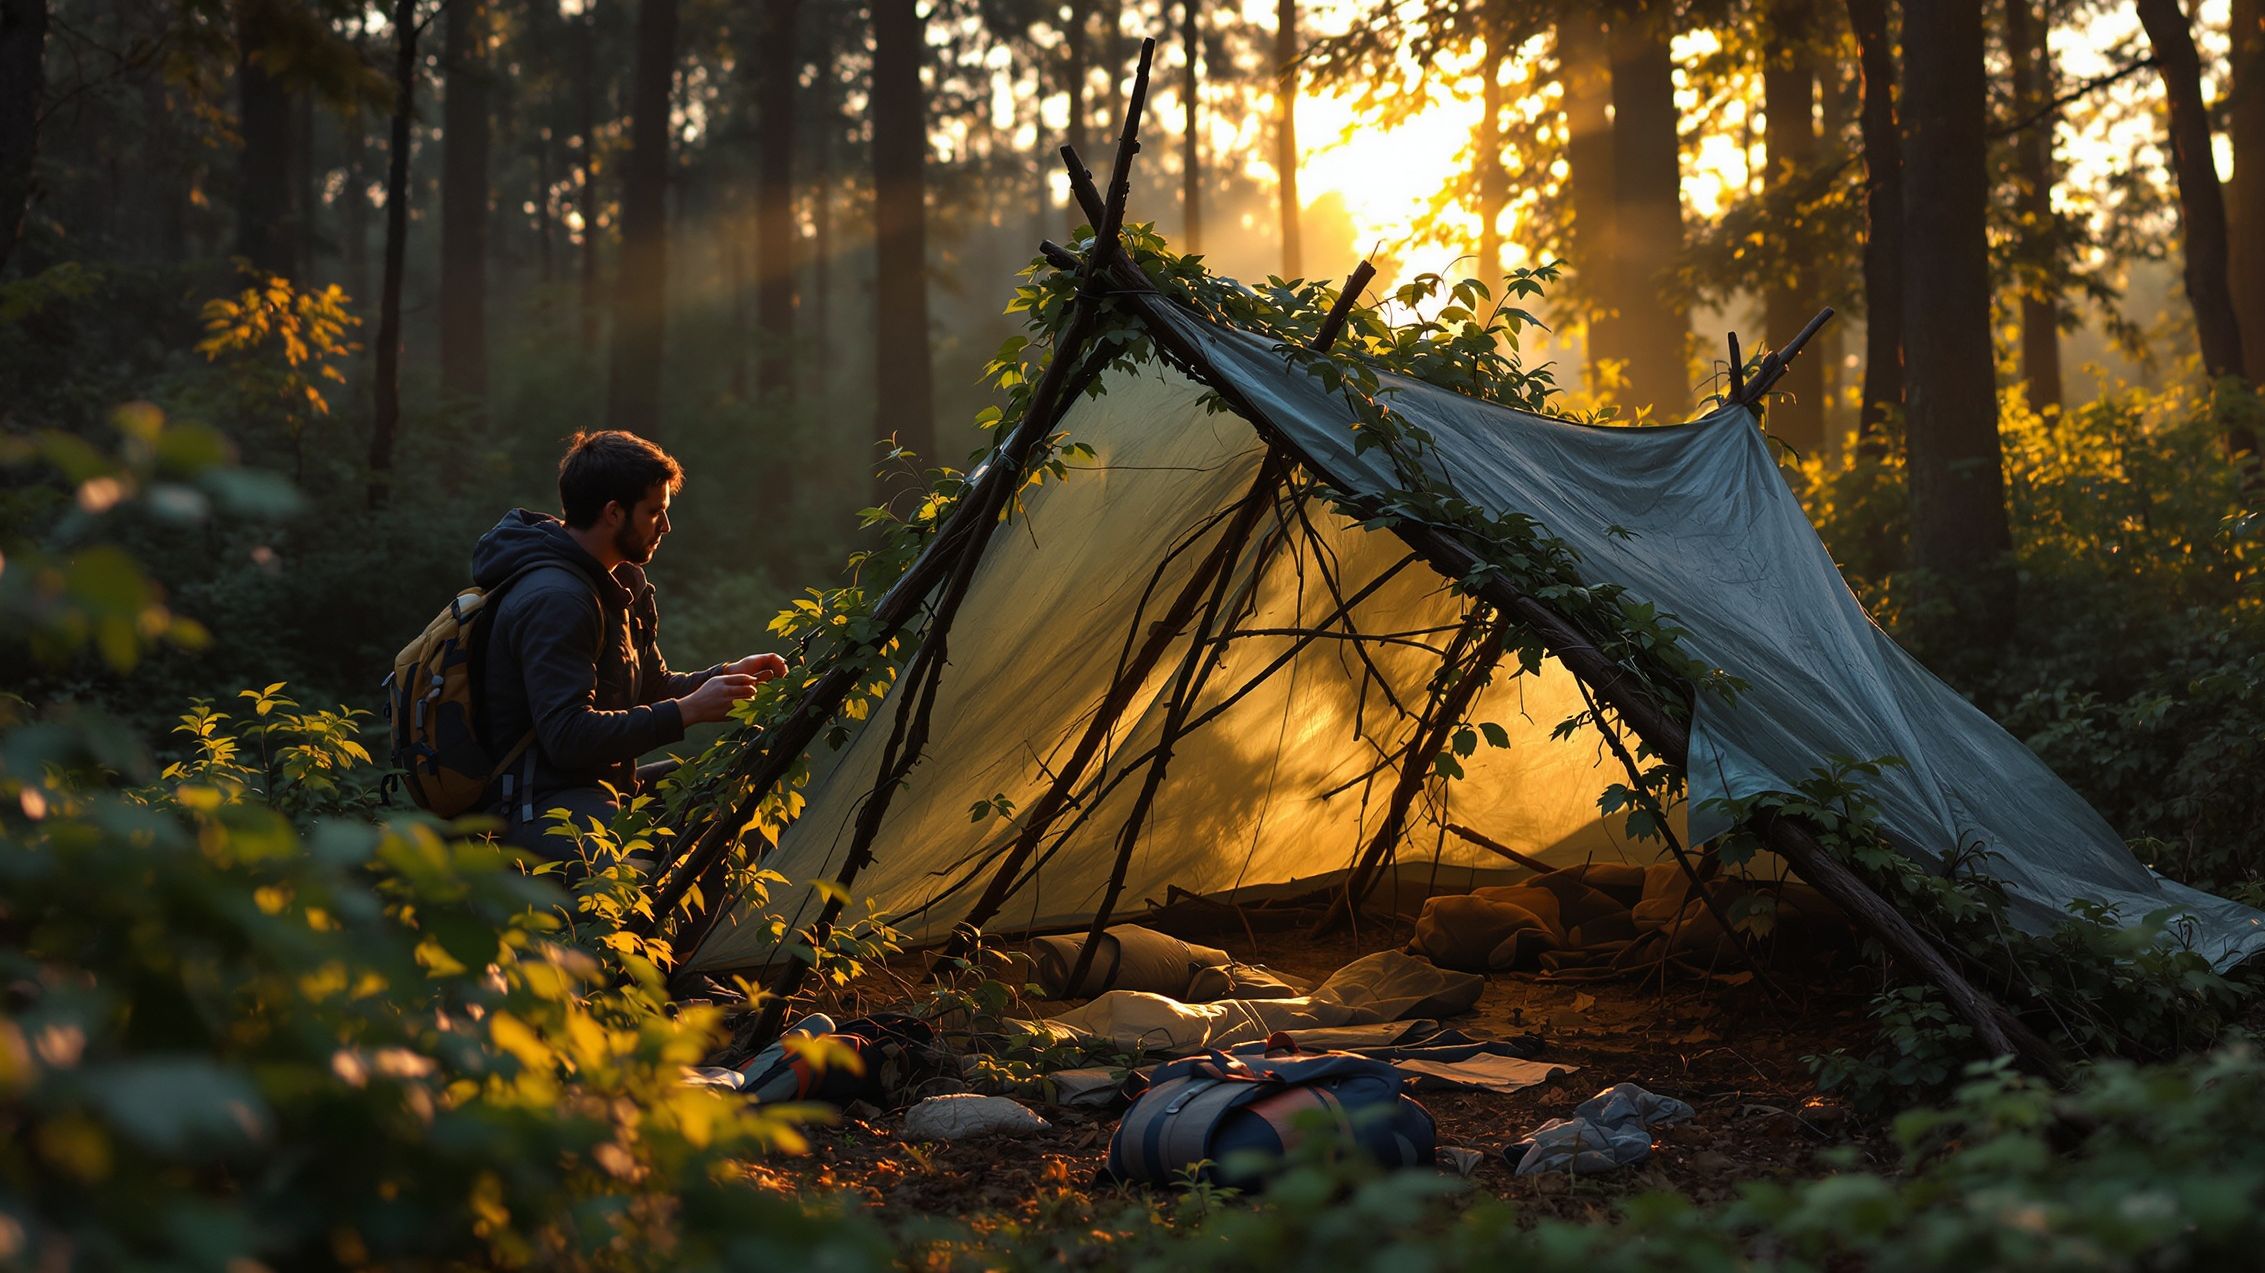
Building a Tarp Shelter Quickly
If you have a tarp, building emergency shelter becomes much easier. A tarp shelter provides fast rain protection and works well for sudden weather changes.
Tie one edge of the tarp between two trees using rope, paracord, or strong branches. Angle the other side down toward the ground to create a sloped roof that sheds rain. Secure corners with rocks, sticks, or stakes made from branches.
Keep the tarp low enough to block wind but high enough to allow movement. In strong rain, the angle matters. Water should run away from your sleeping area rather than collecting above it.
Tarp shelters are popular because they save energy and time, which are critical in emergency situations.
Insulation From the Ground Matters Most
Many beginners focus only on the roof, but the ground is often where the body loses the most heat. Sleeping directly on cold earth pulls warmth away quickly, especially at night.
Create a thick ground layer using dry leaves, pine needles, grass, moss, or evergreen branches. This insulation separates your body from the cold ground and improves warmth dramatically.
Even a perfect roof cannot help much if you are lying on frozen soil. In wilderness survival, ground insulation is often the difference between an uncomfortable night and a dangerous one.
Always think of shelter in three parts: overhead protection, wind blocking, and ground insulation.
Protection From Rain and Wind
Rain and wind are often more dangerous than cold alone. Wet clothing combined with strong wind can lower body temperature rapidly and create serious survival risks.
Build your shelter opening away from the strongest wind direction. Use natural barriers like boulders, dense bushes, or tree lines for additional wind protection. Avoid gaps where wind funnels through narrow spaces.
For rain, create angled surfaces so water runs off rather than pooling. Flat roofs collect water and often collapse under weight. Even natural shelters made from branches should have a sloped design whenever possible.
Dryness is one of the most important survival goals outdoors.
Fire and Shelter Placement
Fire and shelter often work together, but they must be balanced carefully. A fire too close to your shelter can create dangerous sparks, especially if dry leaves or branches are used in construction.
Place a small controlled fire several feet in front of a lean-to shelter if conditions allow and fire restrictions permit it. This helps reflect warmth toward your sleeping area. Some survival shelters use a reflective wall of logs or stones behind the fire to direct heat back toward the shelter.
Always follow local fire regulations and keep water or dirt nearby for safety. Fire improves comfort, but shelter should never become a fire hazard.
Emergency Shelters in Hot Climates
Not every wilderness emergency happens in the cold. In deserts, dry canyons, or intense summer heat, shelter focuses more on shade and airflow than insulation.
Use branches, tarps, or natural rock overhangs to block direct sunlight. Create open-sided shade rather than enclosed warmth. Ventilation is important for reducing overheating and conserving energy.
Avoid heavy activity during the hottest part of the day and rest inside your shaded area. In hot environments, the goal is preventing heat exhaustion and protecting your body’s water supply.
The same survival principle applies: shelter protects you from the environment, whatever that environment may be.
Leave No Trace and Responsible Survival
Even in emergency situations, respect for nature matters. Use fallen branches instead of cutting live trees whenever possible. Avoid damaging fragile ecosystems or disturbing wildlife unnecessarily.
If the emergency passes and you can safely leave, dismantle temporary shelters when appropriate and restore the area as naturally as possible. Pack out gear, trash, and non-natural materials.
Outdoor survival skills should work with nature, not against it. Responsible wilderness practices protect future hikers, campers, and the environment itself.
Final Thoughts on Building Emergency Shelter in the Wild
Learning how to build an emergency shelter in the wild is one of the most practical and confidence-building outdoor skills a beginner can have. It teaches you how to think clearly, use your surroundings wisely, and protect yourself when conditions become uncertain.
The best shelter is not the most impressive one. It is the one that keeps you dry, warm, and safe with the least wasted time and energy. In survival situations, simple and effective always beats complicated and slow.
A lean-to, debris hut, or tarp shelter may seem basic, but these simple designs have helped countless hikers, campers, and explorers stay protected outdoors. With practice, these skills become second nature and turn fear into confidence.
Nature can be unpredictable, but preparation changes everything. Knowing how to build shelter means carrying one of the oldest and most powerful survival tools with you—no matter where the trail leads.