Start With Tools That Make the Route Understandable
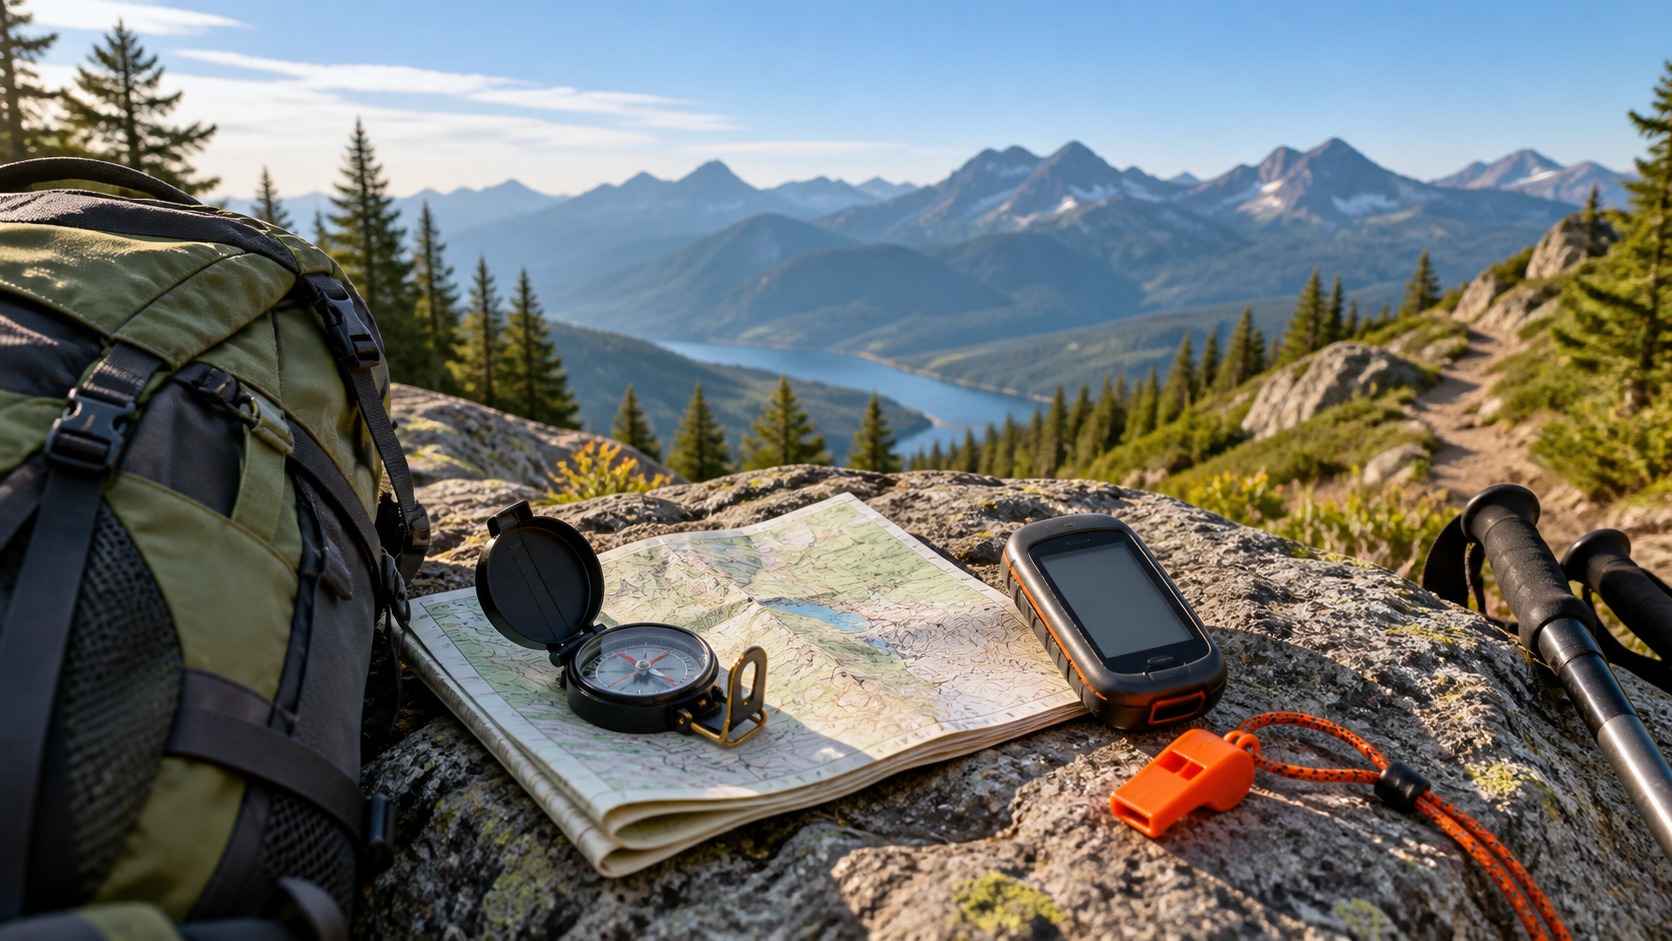
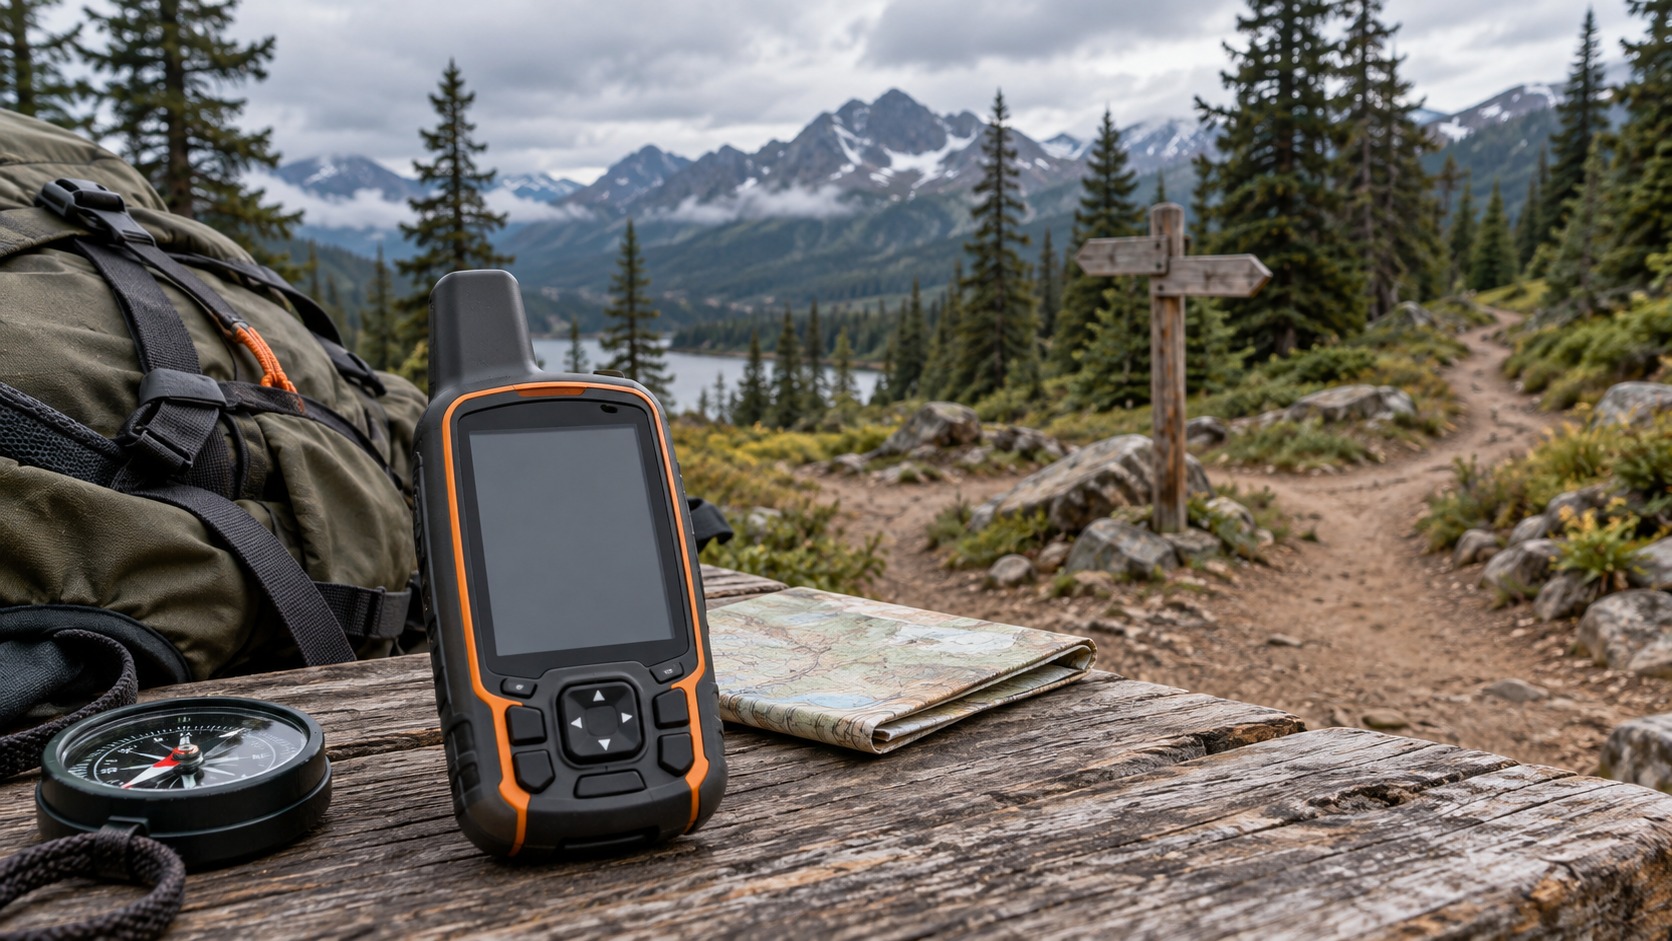
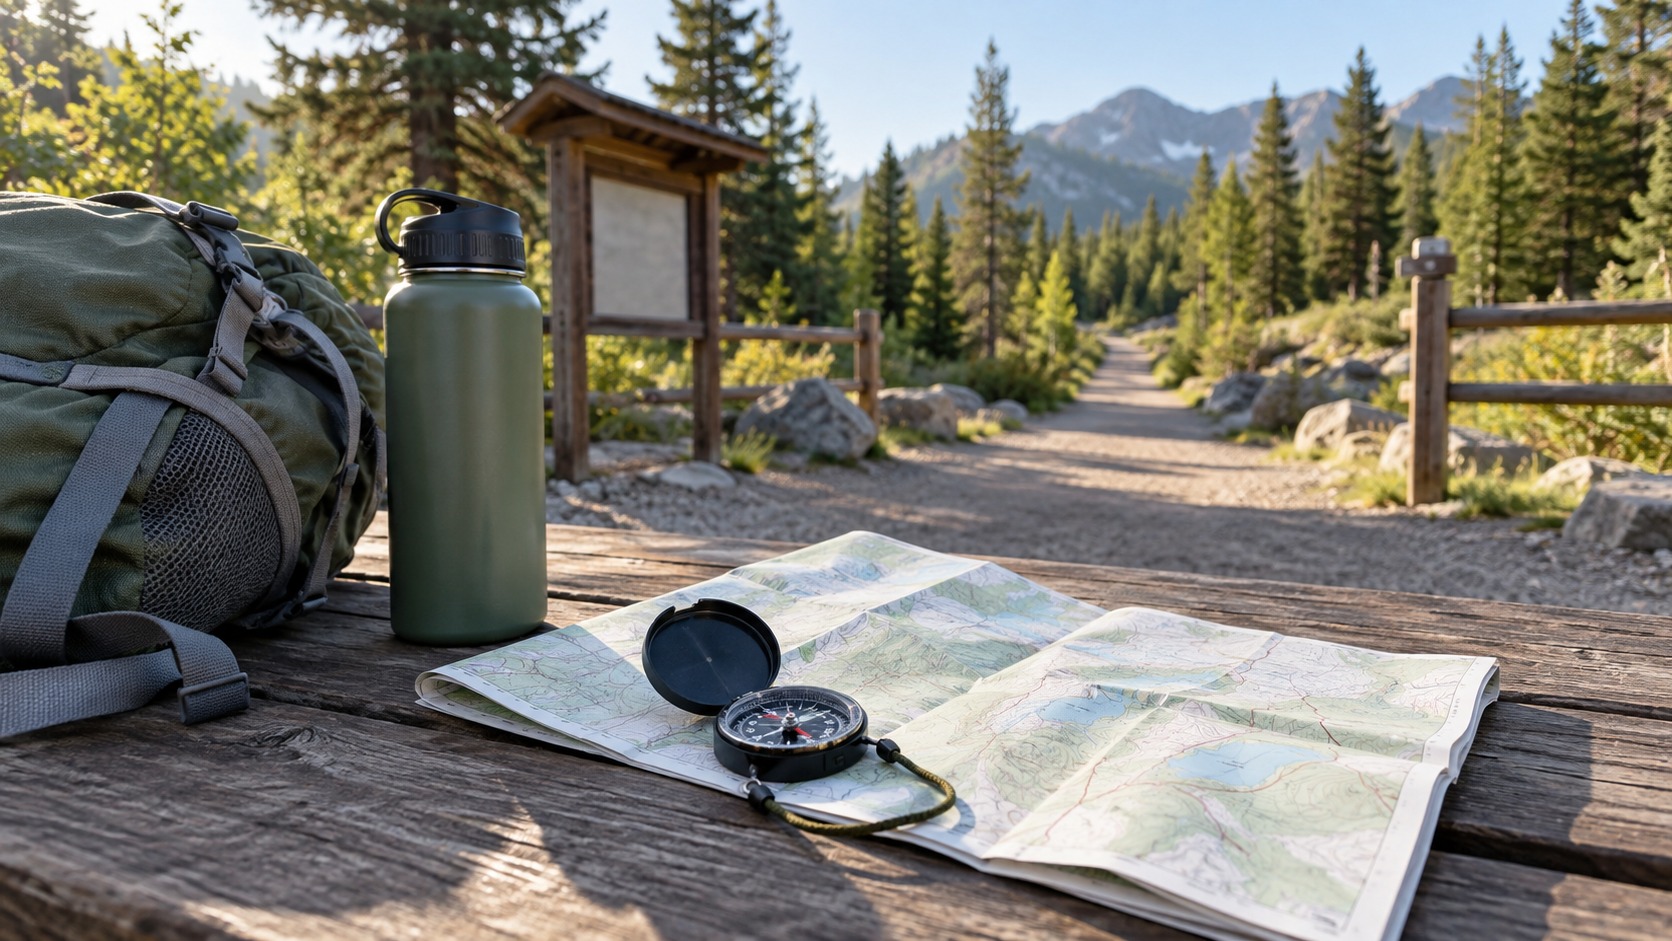
Navigation tools for beginners should make hiking feel clearer, not more technical. First-time hikers need to understand where the trail starts, how far it goes, where turns happen, when to turn around, and what to do if the route feels confusing. A phone app can help, but so can a simple map, a compass, trailhead signs, and a written plan. The best beginner setup builds awareness instead of encouraging blind dependence on one screen.
A: A downloaded phone map, simple paper map, and basic compass are a strong beginner set.
A: It can be enough on easy local trails, but beginners should still have backup awareness.
A: A compass is useful and light, especially when paired with a map.
A: Yes, download maps before leaving reliable service.
A: Use daylight, energy, weather, and planned turnaround time before problems grow.
A: Stop, check the map, and return to the last known point if needed.
A: They are helpful, but signs can be missing, damaged, or use different names.
A: Use easy trails to compare the map, app, compass, signs, and visible terrain.
A: Yes, tell someone where you are going and when you expect to return.
A: Starting without downloaded maps, battery margin, or a clear turnaround plan.
Choose Easy Routes While Learning
Beginners learn navigation best on trails where the route is simple and consequences are low. A short out-and-back trail with clear signs is easier to understand than a complex loop with many junctions. Early success builds confidence and teaches how maps, signs, distance, and terrain relate to one another.
There is no need to make the first navigation practice dramatic. A familiar park trail can teach useful habits before a bigger outdoor adventure.
Use a Phone App the Right Way
A phone app is a useful beginner tool when maps are downloaded before the hike and the battery is protected. It can show current location, route progress, elevation, and distance. The problem comes when beginners assume service will always exist or leave the map download until the trailhead.
Carry a Simple Paper Backup
A paper map does not need to be elaborate for a beginner hike. It can be a park map, printed route, or official trail map. The important thing is that it shows the route, trailhead, major junctions, and nearby roads or exits. A paper map also helps beginners see the whole hike at once.
Fold it so the active route is easy to view. If rain is possible, keep it in a bag or map case.
Learn Basic Compass Direction
Beginners do not need advanced compass work on the first hike, but they should understand basic direction. A compass can show which way is north and help orient a map. That alone can prevent wrong-way starts at trailheads and junctions. More advanced bearings can come later.
Photograph the Trailhead Map
Many trailheads have maps, warnings, closure notes, or seasonal information posted near the start. A quick photo can help if the route feels confusing later. It also captures current details that may not appear in an app. Beginners should take the photo before leaving the sign area, while the information is easy to access.
The photo is not a full navigation plan, but it is a useful backup reference.
Pause at Junctions
A junction is the best place to slow down. Check the sign, compare the route, look at the map, and confirm direction before walking away. Beginners often make mistakes by following the most obvious trail without checking whether it is the intended one.
Look Back on the Way Out
The return view often looks different. Beginners can reduce stress by occasionally turning around and noticing what the trail will look like on the way back. This is especially helpful near junctions, bridges, open rock, and confusing side paths.
These mental snapshots support the map. They also make an out-and-back route feel more familiar on the return.
Set a Turnaround Time
A turnaround time protects beginners from letting enthusiasm outrun daylight, weather, or energy. Decide before the hike when the group should turn back, even if the destination has not been reached. This is especially important when hiking slowly, taking photos, or learning new tools.
Do Not Wait Until Lost
Navigation checks should happen before panic. If the route feels uncertain, stop early, drink water, check the map, and compare tools. Continuing while confused usually makes the correction longer. Returning to the last known point is often the calmest choice.
Getting temporarily confused is common. The skill is noticing it early and responding slowly.
Protect Phone Battery
A phone used for navigation should not be drained by unnecessary apps, bright screens, or constant photos. Airplane mode, downloaded maps, lower brightness, and short location checks can extend power. A small power bank is useful on longer beginner hikes.
Share the Plan With Someone
Tell someone the trail name, start time, expected return, and who is hiking. This simple step supports every navigation tool. If plans change and service is available, send an update.
Beginners should build this habit early because it remains useful on harder trips.
Review the Hike Afterward
After the hike, look at where navigation felt easy or confusing. Did the app match the signs? Were junctions clear? Did the paper map help? Did the group turn around at the right time? These questions turn each hike into practice. Navigation confidence grows through repetition. The best beginner tools are the ones that help hikers learn, not just follow.
Keep the Goal Simple
The goal of beginner navigation is not expert route-finding on day one. It is knowing the plan, recognizing the trail, checking progress, and making calm decisions. Simple tools used well are better than advanced tools used blindly.
When beginners understand the route, hiking feels more welcoming. That feeling is worth building carefully.
Make the Route Visible Before Leaving
Beginners should see the whole route before they start walking. That can mean opening the downloaded map, looking at the trailhead sign, reading the route description, and noting the first major turn. A route that lives only as a vague idea is harder to follow once trees, signs, and side paths appear. Take a minute at the trailhead. The walk feels calmer when the first decisions are already understood.
Use Simple Landmarks Carefully
Landmarks help beginners remember a route, but they should be specific. A bridge, trail sign, lake edge, or unusual rock is more useful than a general patch of forest. Beginners should also look backward at landmarks so the return route feels familiar. The return view can be surprisingly different.
Landmarks work best with a map check. Memory alone can be overconfident.
Choose Out-and-Back Routes First
Out-and-back hikes are easier for navigation practice because the return follows the same route. Loops can be fun, but they add more junction decisions and make turning around less obvious. Beginners can build map confidence before adding that complexity. Once out-and-back routes feel comfortable, short loops with clear signs are a good next step. Skill should grow gradually.
Keep the Group Together at Turns
If beginners hike with friends or family, the group should pause at junctions until everyone knows the direction. Splitting around turns can create confusion quickly. One person may follow a side path while another assumes the route is obvious.
A short regrouping habit prevents awkward mistakes. Navigation is easier when the group shares the same plan.
Carry Enough Power for Photos and Maps
Beginners often use the same phone for photos, navigation, messaging, and ride coordination. That can drain battery faster than expected. Downloaded maps help, but screen use still matters. A small power bank is useful for longer hikes. Save battery before it becomes urgent. Navigation power is more important than extra photos near the end of the day.
Learn Trail Names and Colors
Trail systems often use names, colors, numbers, or symbols. Beginners should notice which system the park uses before leaving the trailhead. An app may show one trail name while signs emphasize a color or loop marker. Matching those systems reduces hesitation.
If a sign uses unfamiliar wording, stop and compare it to the map. Do not guess just because a path looks popular.
Make Turning Back Normal
Turning around is a navigation skill, not a failure. Beginners should feel comfortable ending a hike early if weather changes, daylight runs short, or the route becomes confusing. A good turnaround protects confidence and makes future hikes more likely. The goal is to return safely with better understanding. Destinations are optional; safe decisions are not.
Start With One Main App
Beginners should avoid downloading several navigation apps and trying to learn them all on the same hike. Choose one main app, download the route, and practice with it before leaving. Too many unfamiliar tools can create more confusion than confidence.
Once the first app feels comfortable, other tools can be added slowly.
Make a Simple Route Card
A route card can be a few notes on paper or a saved phone note: trail name, distance, expected time, main turns, turnaround time, and emergency contact. This gives beginners a clear reference when signs or screens feel confusing. It also helps the group agree on the plan. Simple written plans reduce decision stress.
Learn to Stop Safely
If the route feels wrong, stop in a safe place before checking tools. Do not stand in the middle of a bike path, stream crossing, or exposed slope while staring at a phone. Step aside, breathe, drink water, and then compare information.
Safe stopping is a small habit that makes navigation calmer.
Use Time as a Navigation Tool
Beginners often focus only on distance, but time is just as helpful. If a junction was expected after twenty minutes and an hour has passed, it is time to recheck the route. If the group is moving slower than expected, the turnaround plan may need to change. Time keeps the hike honest.
Practice With the Phone Offline
Before relying on a phone map, put the phone in airplane mode and confirm the downloaded map still works. This teaches the difference between GPS location and cell service. It also reveals whether the route was truly saved.
Offline practice prevents a common beginner surprise.
Build Confidence With Repetition
Beginner navigation becomes easier when the same habits repeat. Check the route before leaving, photograph the trailhead map, keep the phone accessible, pause at junctions, watch the time, and look back occasionally on the outbound walk. These actions are small, but together they make the route feel understandable. A first-time hiker does not need to master every navigation skill at once. Repeat those habits on several easy trails. Over time, the map starts to match the landscape more naturally. The hiker begins to notice trail shapes, junction patterns, elevation changes, and turnaround timing without feeling overloaded. That is the real purpose of beginner navigation tools: not just reaching one destination, but learning how to move through outdoor spaces with calm attention. Beginners should also choose trails that leave room for learning. Good weather, early starts, clear signs, and moderate mileage make it easier to practice without pressure. If something feels wrong, stopping early and checking the plan is a success, not a setback. Each calm decision teaches the next one. With enough repetition, maps and apps stop feeling like emergency tools and become ordinary parts of hiking preparation. That steady familiarity makes new trails feel less mysterious and helps first-time hikers recognize when they are prepared for a slightly longer route. The best beginner navigation tools turn attention into habit, so each hike becomes easier to understand before the next trailhead decision arrives. Keep the first few routes familiar enough that attention can stay on decisions instead of anxiety, then add distance, turns, and terrain complexity gradually with simple notes after each walk afterward consistently.